The Best Practices of Crack Sealing
BY AsphaltPro Staff
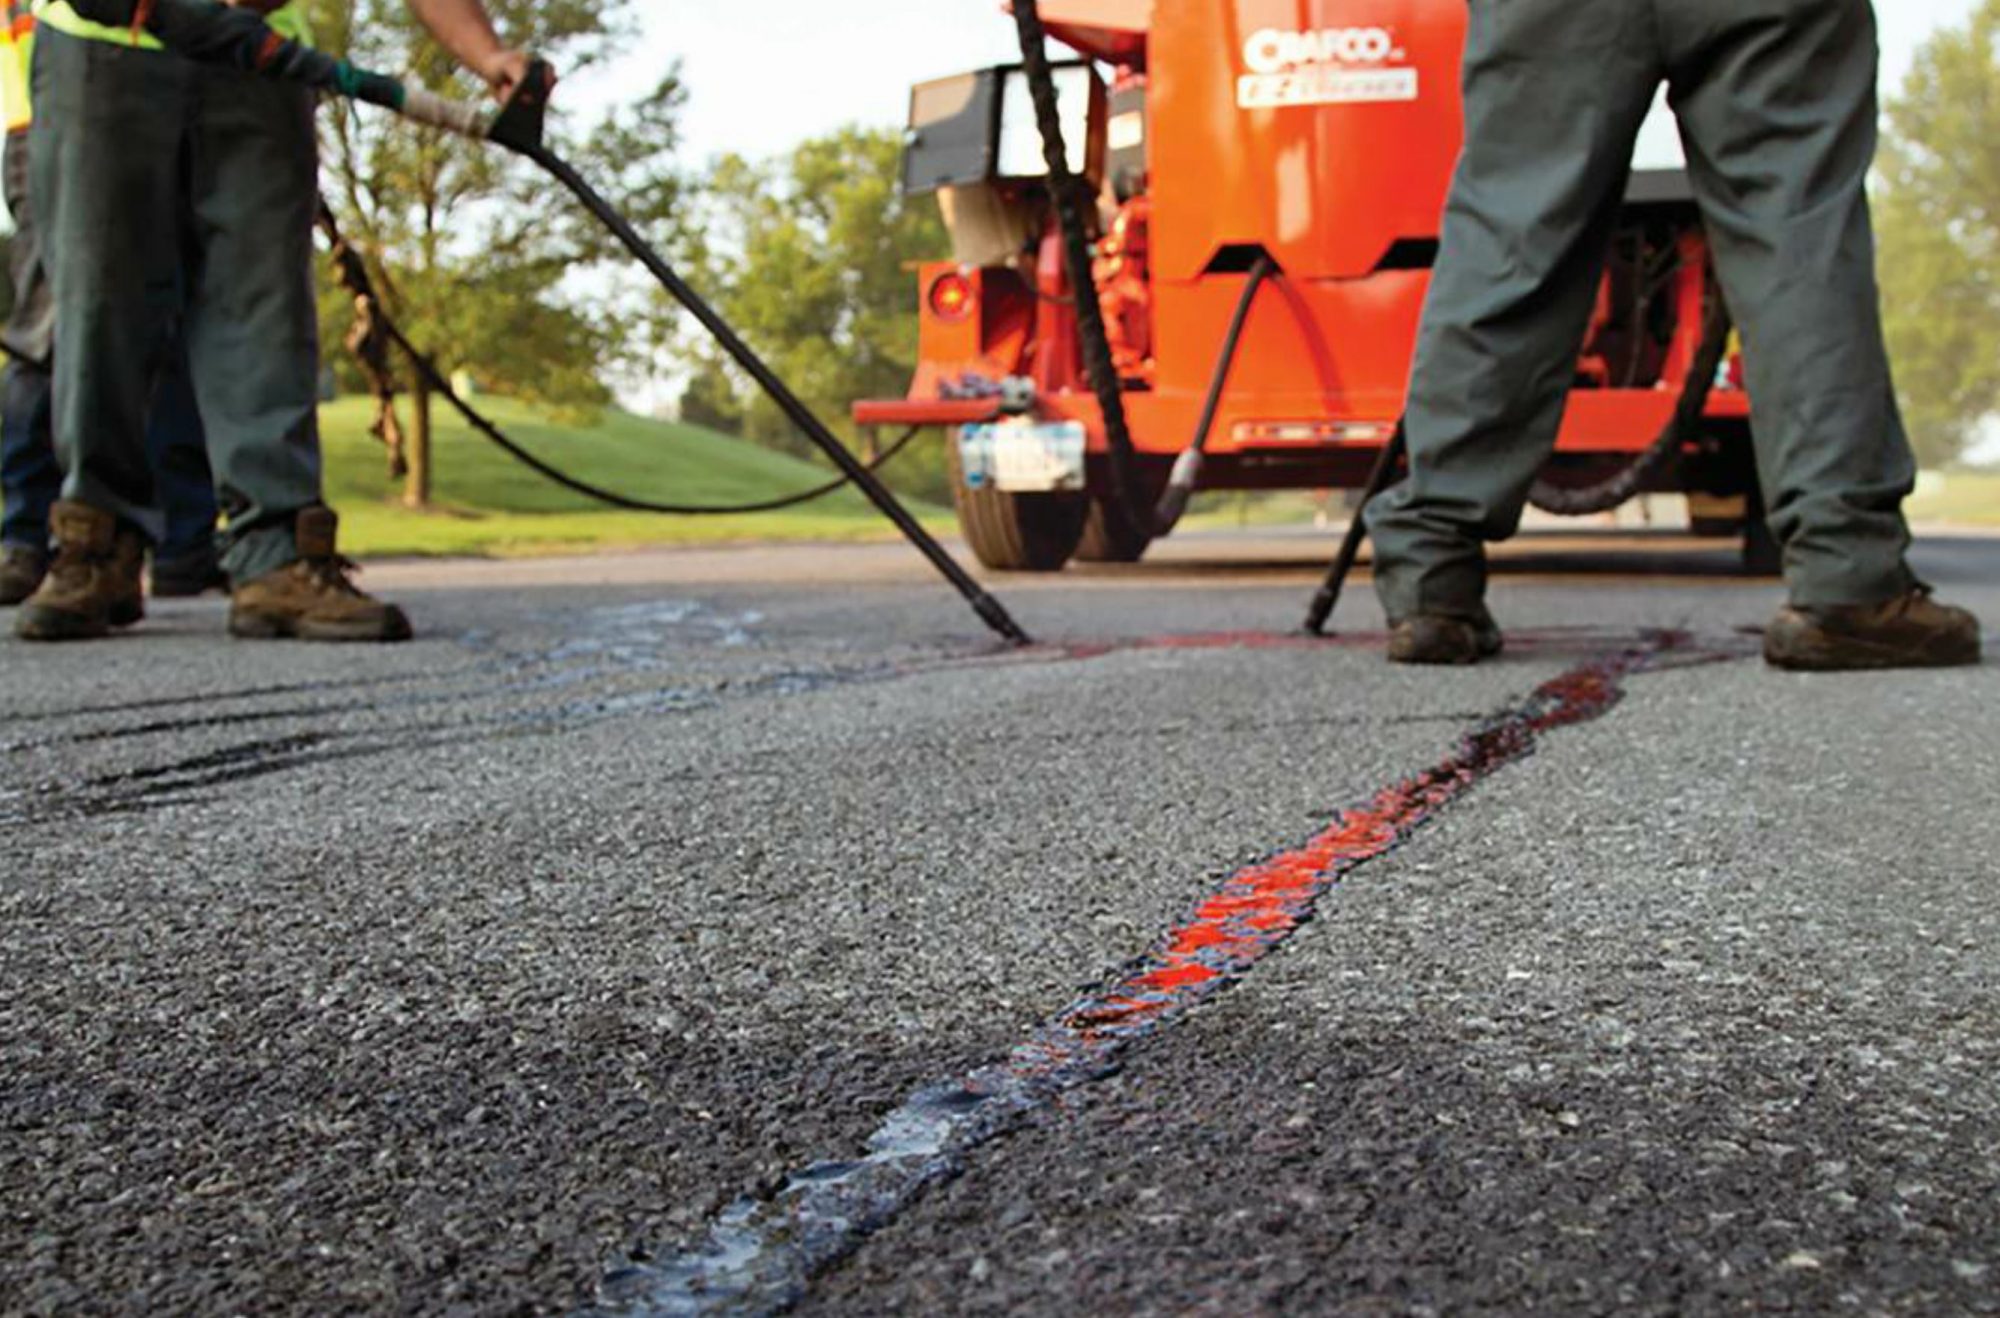
Cracks come in all shapes and sizes, and no pavement is immune to cracking. If left untreated, those cracks are only the start of more significant problems, from potholes all the way to sub-base failure.
According to the Pavement Preservation & Recycling Alliance’s roadresource.org, 75 percent of unsealed cracks develop into potholes within three years, while only 1 percent of sealed cracks develop into potholes in that same timeframe. Considering the benefits gained from reduced vehicle damage, increased driver safety and reduced road maintenance, it’s clear why crack sealing is important.
Crack sealing is the process of placing an adhesive sealant into cracks on the pavement surface, preventing the infiltration of moisture and non-compressible materials into the pavement. It is a cost-effective pavement preservation treatment that can slow pavement’s deterioration and extend pavement life by three to five years. A crack-sealed road can be opened to traffic almost immediately when a de-tacking agent is used.
When to Perform Crack Sealing
Crack sealing should be performed before a pavement becomes too distressed.
Crack sealing can be used for cracks wider than ⅛ of an inch, including block, edge, longitudinal, reflective, thermal or transverse cracking. Pavement experiencing alligator cracking may not be a candidate for crack sealing, as the alligator cracks indicate failures requiring repair beyond crack sealing, as originally reported in AsphaltPro’s 2016 article “How to Crack Seal Right, Step by Step”. Potholes and cracks wider than 1½ inches also should not be crack sealed.
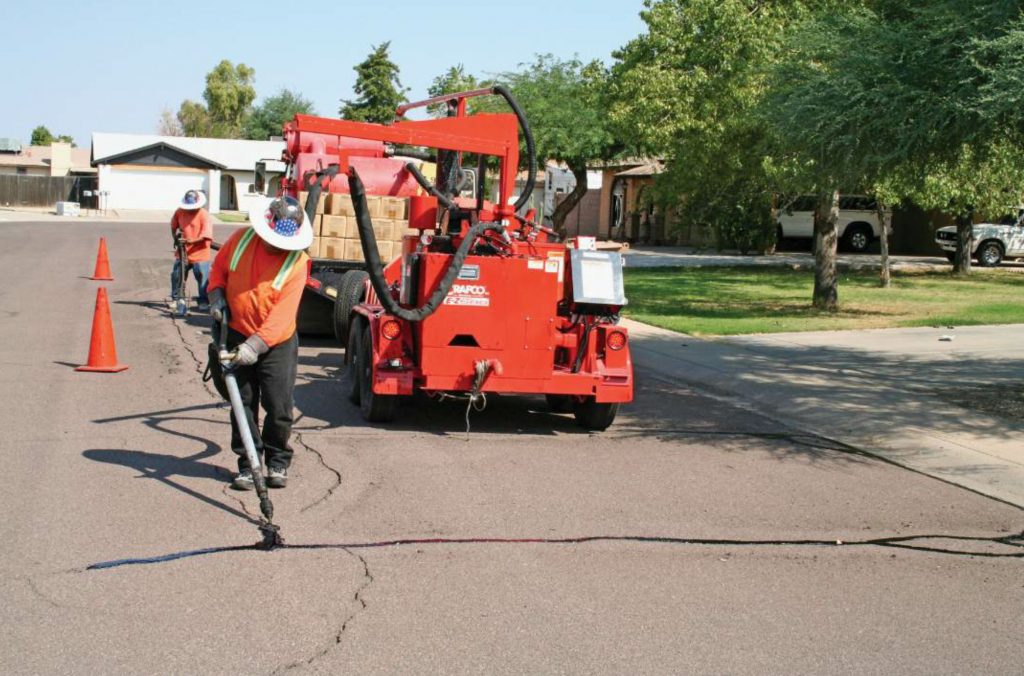
Crack sealing is the process of placing an adhesive sealant into cracks on the pavement surface, preventing the infiltration of moisture and non-compressible materials into the pavement.
“Errantly applied sealant looks unprofessional and can cost road owners hundreds or even thousands of dollars a year,” said Jamie O’Driscoll of Crafco Inc., Chandler, Arizona. “It can also reduce skid resistance.”
If the pavement is a candidate for crack sealing, that treatment should be performed in the spring or fall when cracks are neither completely open (as they are in winter) nor closed (as they are in summer). Most manufacturers recommend a minimum pavement temperature of 40 degrees Fahrenheit. Performing crack sealing at lower temperatures results in reduced adhesion. A hot air lance may be required to warm the pavement if crack sealing must happen when the pavement temperature is below 40 degrees.
Crack sealing can be combined with other preservation treatments, including chip seals, HMA overlays, slurry seals or micro seals. However, the crack seal must cure for a minimum of two weeks before any treatment can be placed overtop. Overbanded crack seals require even longer cure times.
Prepare the Surface
Proper preparation of the surface is key to successful adhesion of the sealant. Some jobs may require cracks to be routed; others will not.
There are a number of factors determining whether or not cracks should be routed before they are sealed. Routing offers cleaner edges for better material adhesion and creates a defined reservoir that holds the appropriate amount of sealant to accommodate the anticipated annual thermal movement. When done before crack sealing, routing can improve the likelihood of proper sealant adherence and double its service life, said Brandi Julian, training director at Crafco Inc.
The first step is to calculate crack density, which is determined by assessing the linear footage of cracks per square feet of the pavement area. Julian recommends routing if the crack density is not greater than 20 percent. She said anticipated movement is also a factor.
“The more a crack moves, the more we encourage routing,” Julian said, “because more material in that crack means it can accommodate more movement.” Routing is also integral for particularly narrow cracks, to allow enough material to get down into the crack.
“We know that most people don’t route even though we know it improves sealant performance,” Julian said. She pointed to a survey completed with Texas DOT in which the majority of respondents stated they do not route because they find it is too expensive and requires an extra piece of equipment. “We see the longest sealant service life out of that seal and configuration, but what’s state of the art is not necessarily the state of the practice.”
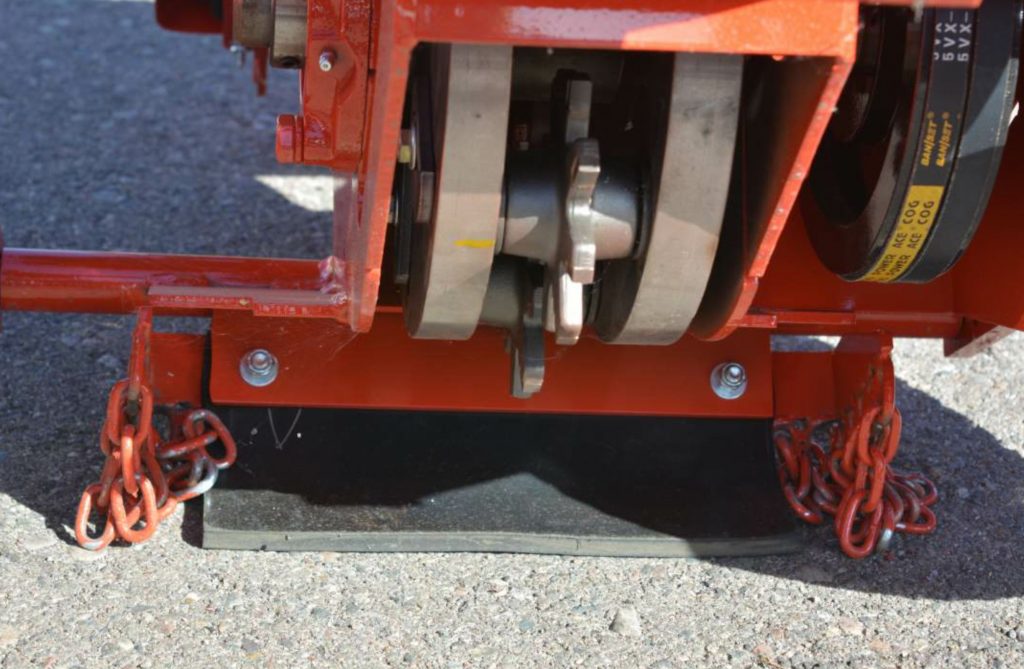
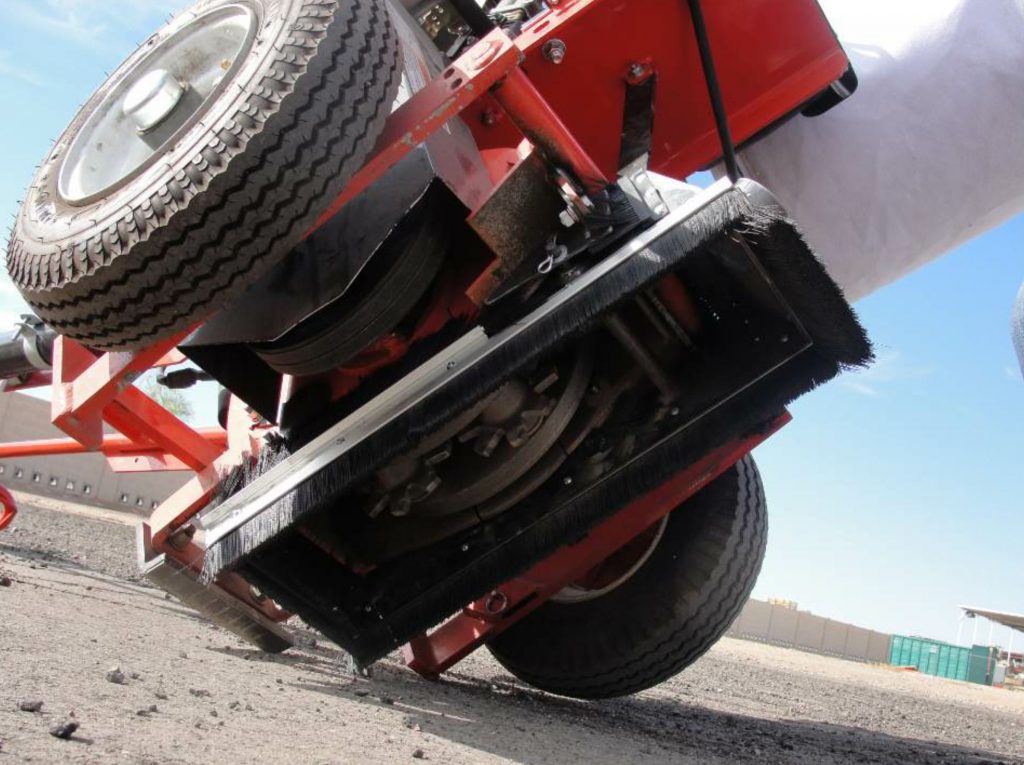
The length, hub and configuration of the cutters on the cutter head are determined by the reservoir dimension.
If pavement has a crack density greater than 20 percent or shows fatigue cracking or other severe distress, it may not be strong enough to sustain routing. “You could potentially do more harm than good,” Julian said.
When routing, a minimum of ⅛ of an inch of deteriorated pavement should be cut from each side of the crack and the rout should be no less than ⅜ of an inch deep. The exact width and depth of the reservoir will depend on the climate and other factors. Generally, colder climates may require wider reservoirs to allow for additional expansion/movement, but not greater than 1½ inches. The rout should be centered over the crack for uniform adhesion.
Cracks, routed or not, that are more than 1 ½ inches wide need to be filled with a sealing mastic, Julian said.
If spalling (the breaking of aggregate at the edge of the cut) occurs, ensure the cutters or pins are not worn. Check that you are using the right type of cutter for the reservoir. Julian recommends a carbide-tipped cutter over a steel cutter for prolonged life. The operator should also slow down his/her operation to see if that reduces spalling. If spalling continues, the pavement may be in too poor of a condition for routing.
The length, hub and configuration of the cutters on the cutter head are determined by the reservoir dimension.
Whether or not cracks must be routed, they should be cleaned. Any dirt, grass or other deleterious substances will reduce adhesion.
The most common cleaning method is the use of compressed air at a minimum of 90 psi. Direct the nozzle directly at the crack and no more than 2 inches from the pavement surface.
It’s important to ensure debris from one crack doesn’t get blown into cracks that have already been cleaned, and to time your operation so cleaning happens just before sealing to avoid debris blowing back into cleaned cracks. Sometimes, more than one pass is required to properly clean cracks, especially for wider cracks.
Before beginning, check that moisture or oil isn’t escaping from the compressor into the crack.
Moisture will also adversely affect adhesion. In fact, according to RoadResource.org, crack sealing on a dry road is often more integral to the success of the treatment than pavement or air temperature.
To ensure cracks are dry, use a hot air lance. The high-velocity, high-pressure heated air both cleans and dries the pavement. Sealant applied while the surface is still warm from the hot air lance can also adhere better.
However, you must take care not to burn the pavement. Overheating will cause excessive hardening of the asphalt, create early crack surface failures and reduce adhesion. Although slight darkening of the pavement is normal, excessive darkening, smoking or dislodgement of aggregates are signs of overheating.
Prep Material
Sealants should be selected based on pavement condition, climate, pavement movement, service life needed and sealant properties, as reported in our 2016 article.
“As you select sealant, make sure it falls within approved spec and that the sealant lot number is on hand in case there’s any issue,” O’Driscoll said. “That way a manufacturer can track and resolve it.”
Climate will also impact your sealant selection. For example, cooler climates require more flexible sealants than hotter climates. Typically, there is less movement of the pavement in hot climates, so there’s less of a need for a very flexible material. Additionally, using a softer sealant in a hot climate could cause tracking.
If you use a less flexible material in a cooler climate, where the pavement will be exposed to greater temperature swings and will have more thermal movement, then the sealant may crack prematurely.
Job type is also a factor in determining the type of sealant used. For example, stiffer sealant works better for parking lots, which see more turning vehicles and foot traffic, while a more flexible sealant would be better for roadways.
The condition of the pavement is another factor. For pavements with less than 20 percent crack density, use a more flexible sealant. For pavements with higher crack density, use a stiffer sealant.
For working cracks (cracks that move more than 3 millimeters), Julian recommends a sealant engineered to accommodate anticipated movement throughout the seasonal temperature changes. Regardless of the sealant used, follow the manufacturer’s recommendations.
Sealant, which is melted and applied using a piece of equipment called a melter, should only be heated within the manufacturer’s specified temperatures, usually between 380 and 410 degrees Fahrenheit.
Overheating the sealant degrades its properties, while under-heating it will negatively impact adhesion as it won’t flow down the depth of the crack appropriately. It’s important to note that some sealants can be reheated, while others cannot. Check the temperature of the material regularly.
The manufacturer’s instructions will also outline proper sealant agitation. Overworked sealant can break down, reducing adhesion and the life of your melter pot, O’Driscoll said. Agitation should be continuous, except when the melter lid is open to add more sealant blocks, to speed up melting and maintain sealant temperature and uniformity.
When you start heating material in the morning, Julian recommends loading the tank halfway full and maintaining that amount throughout the day. A half-filled tank will heat more quickly.
“Most sealants can be reheated only one time,” Julian said. “If it rains and you have to shut down, you’ll have space to add new, fresh material, which resets the pot life back to zero.” She also said not to heat material for more than 12 to 15 hours without introducing fresh material, as most sealants are not meant to withstand elevated temperatures for that length of time.
Add sealant blocks one at a time at the rate you are using it. “Adding too many will reduce the temperature of the heated material in your tank,” Julian said. “Too many blocks can also jam agitation paddles in certain melters.”
Julian also reminds us to empty the tank completely before adding a different sealant type for another job, because the chemistry of those sealants can be drastically different.
Crack Seal Application Best Practices
There are a number of crack seal placement configurations, including flush fill, overband, reservoir and combination. Regardless of the method used, take care to fill the crack from the bottom up to ensure a complete seal and use the right wand tip for the job.
For flush fill configurations, the material is placed in the crack so it is flush with the pavement. O’Driscoll said this configuration should be used if an overlay or other surface treatment is planned in the near future.
With an overband, the material is placed into and over the crack with a sealing disc. It is then either left unshaped (capped) or shaped using a squeegee to create a band that is no more than ⅛ of an inch thin and 2 to 4 inches wide. Squeegeeing can also push the sealant down into the crack to help with adhesion.
Overband covers and waterproofs the crack and is ideal for cracks with considerable deterioration along the edge because it will cover those sections in addition to filling the crack.
We covered the reservoir configuration in our section about routing. However, reservoirs can be flush or recessed. A recessed reservoir is placed lower than the pavement level when an overlay will be placed in the same season as the crack sealing occurs.
There are also combination configurations for jobs where routing throughout is not possible.
Check out NCHRP’s Report 784 on the best practices for crack treatments for asphalt pavements.
To combat sagging as sealant cools and shrinks, some material suppliers recommend filling the crack ¾ of the way and then allowing it to cool before filling completely. Other suppliers suggest filling the cracks to the proper height and returning to any cracks that are too low. If excessive sagging occurs, for sloped pavements, choose higher viscosity sealant to resist sagging/flow.
Throughout the job, avoid using too much sealant or leaving behind drips and puddles. Using a drip stopper on the tip can help to avoid drips and excess application. In the case of puddles of excess sealant, remove by heating a flat blade and cutting puddle excess without harming the treatment.
It is important not to turn the freshly crack-sealed surface over to traffic too soon. However, the exact cure time depends on many variables, including sealant, weather and volume of traffic on the road. If a light application of fine sand or a liquid de-tacking agent is applied to the surface, traffic can return to the pavement almost immediately.
