Asphalt paving contractor and consultant shares tips and techniques to start each lift successfully
In the July training department, we discussed investigating the screed and paver and looked into maximizing the grade and start-off point for your best paving success. This month, we’ll dive into placing the mix.
First, I’m not going through the full suite of every proper start-off step when there is plenty of excellent established material that covers this at TheAsphaltPro.com, within the Asphalt Paving 101 online training course, and in Caterpillar’s “Paving by the Numbers” method. Instead, I’m sharing tips and techniques I’ve learned over the years that may be new and helpful to you.
1. Start with temperature.
The screed must be at proper temperature to place any hot mix. This means each section of the screed—mains and extenders. The heating elements must all be working properly to allow the screed to float properly and to behave in a controllable manner. A cold screed will always dive immediately after coming off the take-off reference. It will be next to impossible to achieve the target thickness and finished profile if the screed is not up to temperature or has some heating elements not working.
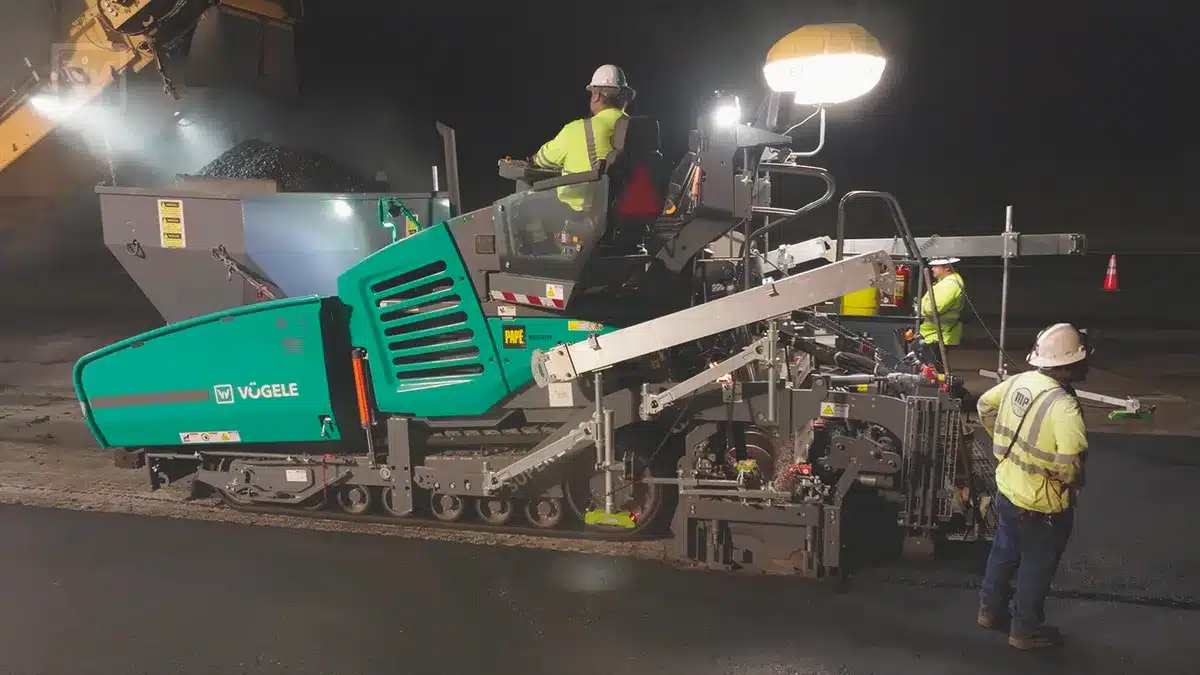
Top Tips to Nail Your Paver Start‑Off Every Time
I’ve been on several pavers in the last few years that were in very poor condition, and it’s next to impossible to hold target grade and finished height when the screed doesn’t heat properly. You can put the tow points way up and end up with the screed planing like a surfboard and still not be able to get target depth until the screed has heated up properly.
It can take at least 150 feet or more before the screed starts to plane properly and start floating on the mat as it should. You need to watch it like a hawk, because once it starts heating up, the depth will increase quickly as it comes up to target temperature. Before you know it, you’ll be chasing your tail and having to reduce depth fast.
QUICK TIP: Remember to install auger and mainframe extensions (aka tunnel guards) to within 18 inches of the endgate inside. If you don’t, you will have an inconsistent material feed, an erratic mat texture and a difficult time managing the screed. Basically, remember, “Control the feed; you control the screed.”
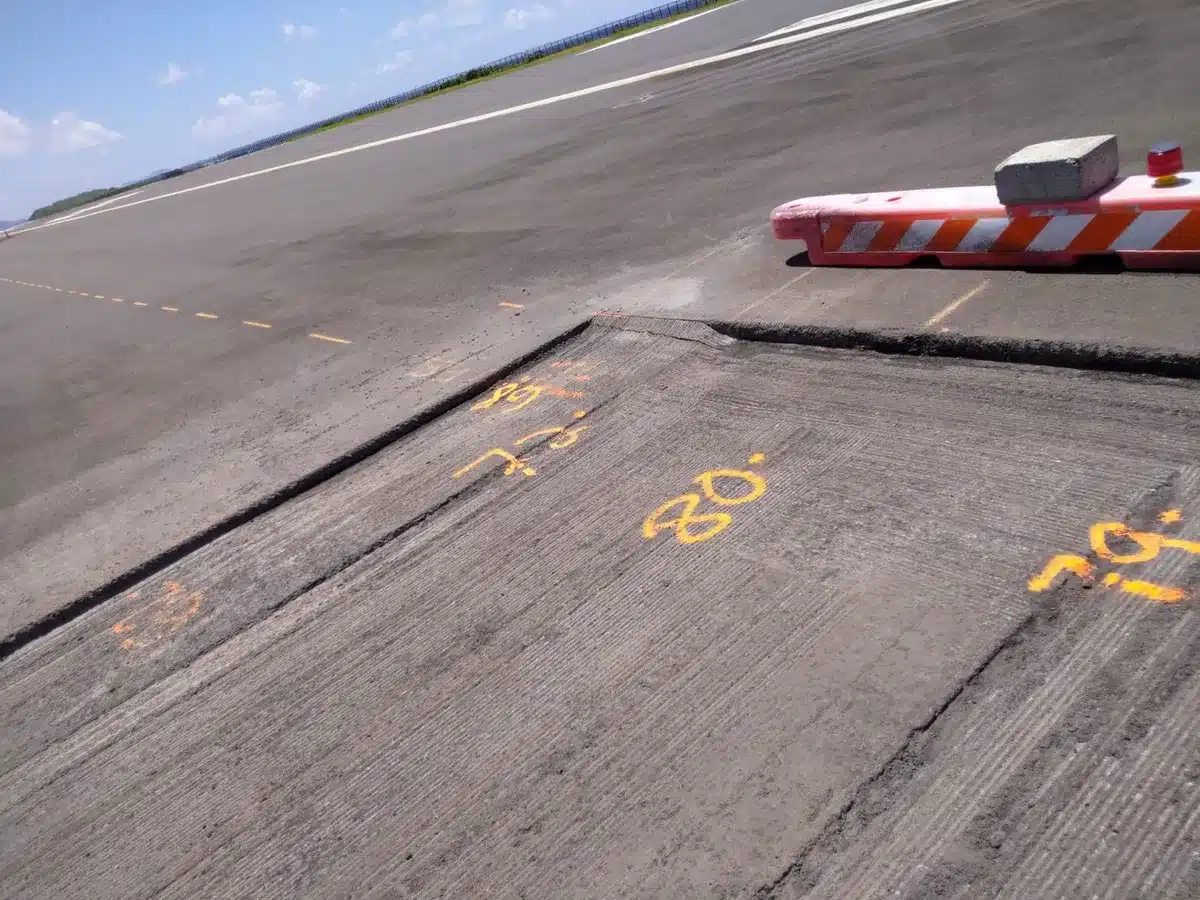
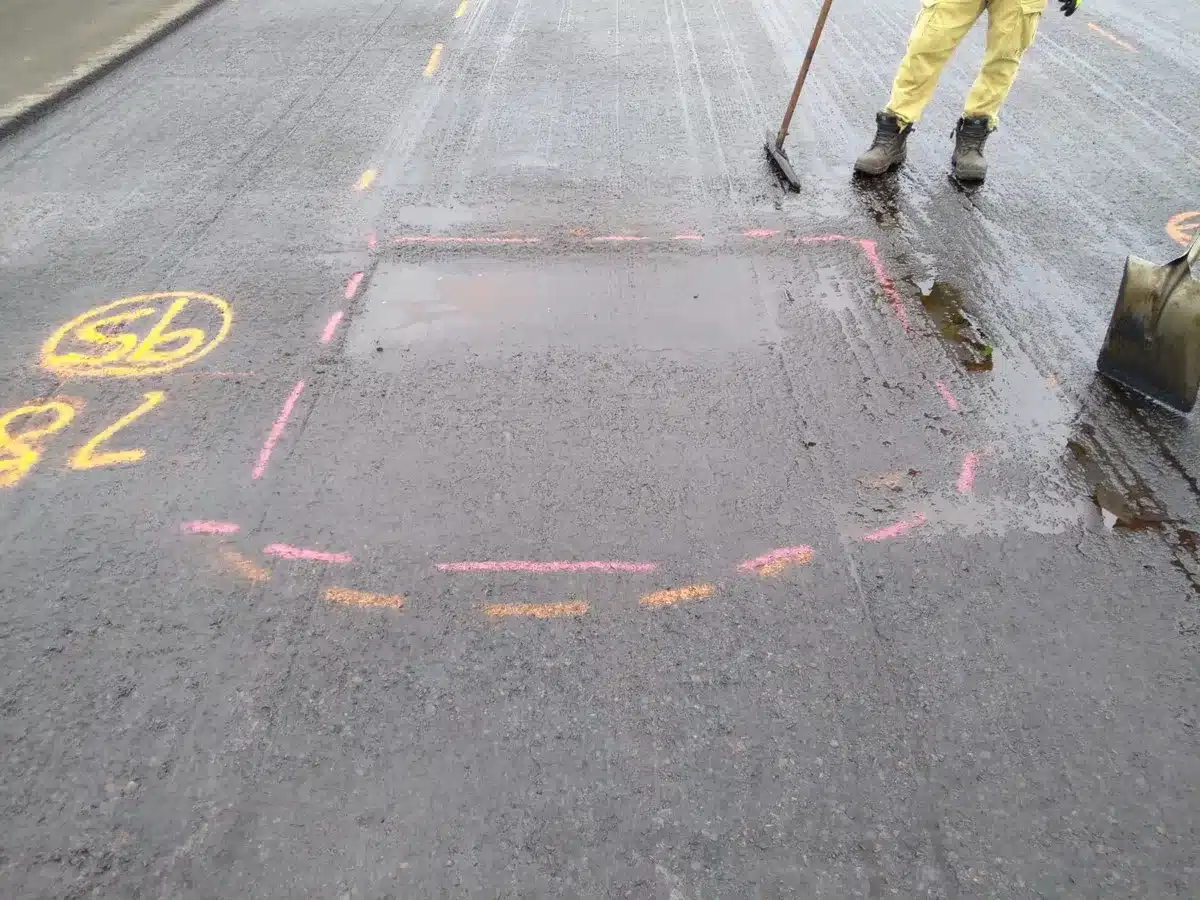
Fresh Pavement for Pago Pago
2. Get the settings right.
Check your screed extender match height and slope, main screed crown and extender angle of attack relative to the main. (NOTE: This last adjustment you should have dialed in during step 1 on the flat, workshop floor before it came to the job site.)
Set your screed width and try to always balance the screed by having each extender out the same amount on both sides. I’ve found that some screeds are quite sensitive to being used with one side out more than the other; try to keep it symmetrical if you can. If you must have one side out more than the other for job site conditions, I always prefer to have the lower side out more than the high side. It’s a lot easier for the material to flow downhill to the lower side of the mat than it is to try and push it uphill.
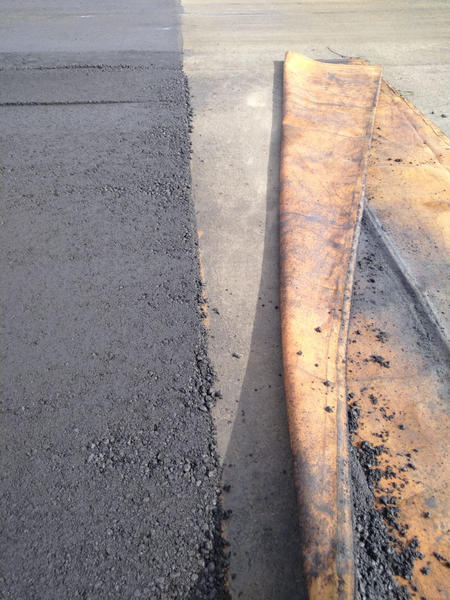
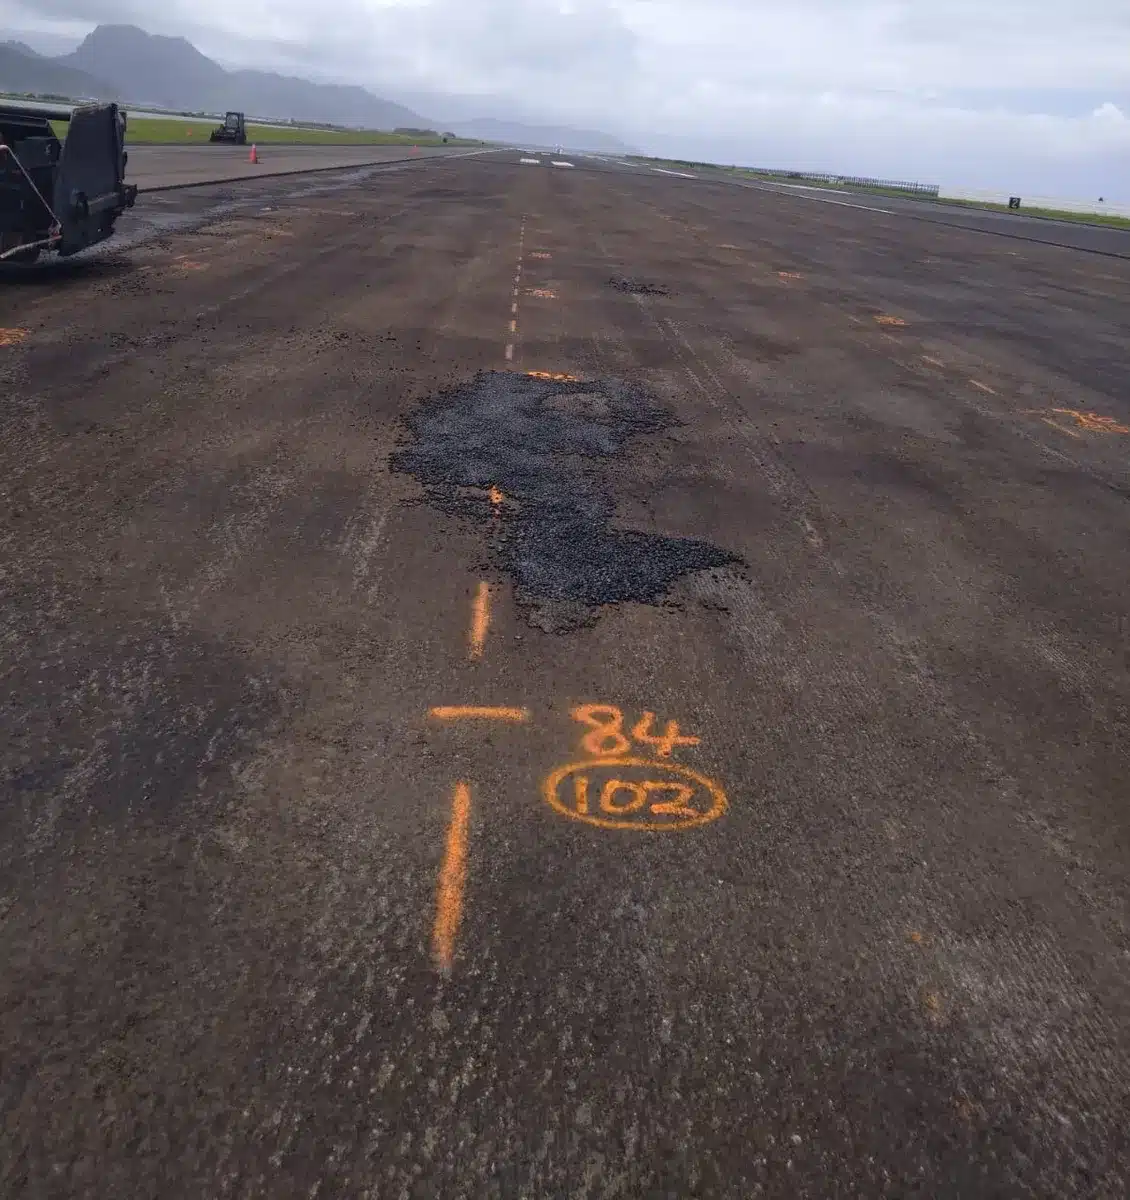
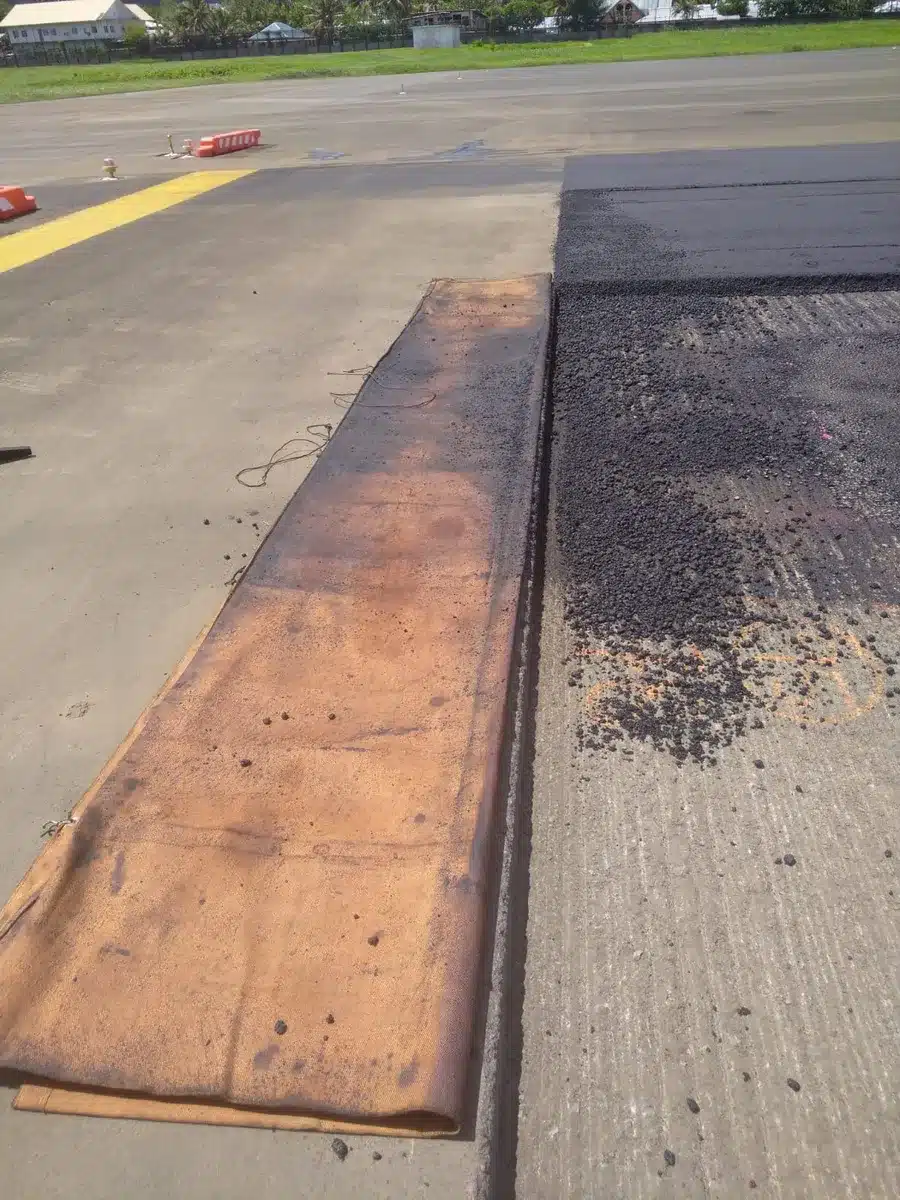
When we remove the tarp from the start-off joint, we reveal a clean edge. We take loose material left on the tarp to the next lane over and place it where the paver will begin, compacting it in a thin layer while preparing the starting boards for the next lane’s pull.
3. Measure and calculate.
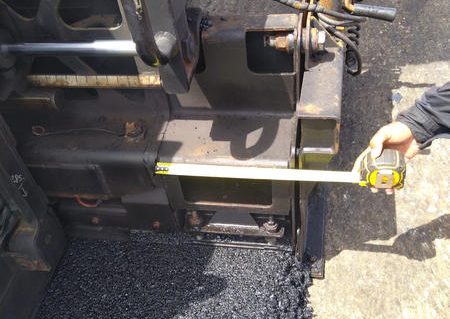
Physically measure the true depth of the start joint. Oftentimes it might be a milled edge from a previously placed mat. Sometimes, the depth may be quite a bit thinner or thicker than it should be, and this requires you to carefully tailor the starting boards to the right thickness to ensure the roll down is right and to avoid having to stop after 15 feet to fix the joint, which we discussed in part one in July.
Most repetitive work like asphalt paving is 99% preparation and 1% execution. In other words, the effort you choose to invest each time by following a well thought out, repetitive step-by-step set-up process directly translates into success or failure. This is why airplane pilots must follow a checklist every single time they take off. The act of following a known, established and proven process almost always results in a safe, successful takeoff. If you want to enjoy consistent, repeatable and predictable results every time you take off from the joint, then follow a good process. (If you’re still not sure what that process should be, refer to the AsphaltPro Magazine’s online course, Asphalt Paving 101.)
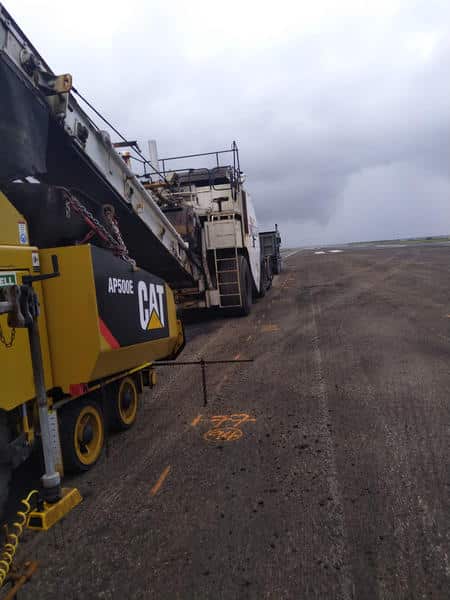
To place a quality longitudinal joint, we must pave a straight, sharp line or replicate a nice, smooth curve or radius. The key to doing this is twofold. First, ensure you paint a nice, sharp clear paint line to give the paver operator a good reference. Second, set out an accurate reference for the paver operator to follow said paint line. The best way is to use an adjustable steering guide or pointer or guide bar that they use to trace accurately the line they need to follow. Make sure these things are in good shape and not bent or broken or difficult to adjust. Recently, manufacturers have released aftermarket devices that mount on the paver and point a colored beam of light along the painted line, centerline or other reference point.
4. Square up.
Once you have the correctly calculated starting boards under each side of the main screed and in the center of the main, be sure to back the paver up square to the joint. You want the machine lined up properly for a straight longitudinal joint to be placed.
QUICK TIP: You also want to place starting boards under the extenders if those are out more than about 20 inches.
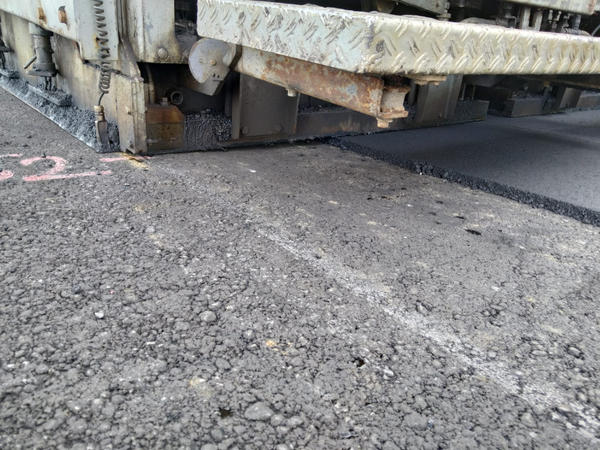
Don’t accept or allow the paver to be crooked. Back it up so the foremost part of the screed frame is about 4 inches behind the edge of the take-off joint. Next, I recommend setting the tow points at the approximate correct height for the mat depth you are placing, taking into account the need to keep the line of pull as close to being parallel to grade as you can.
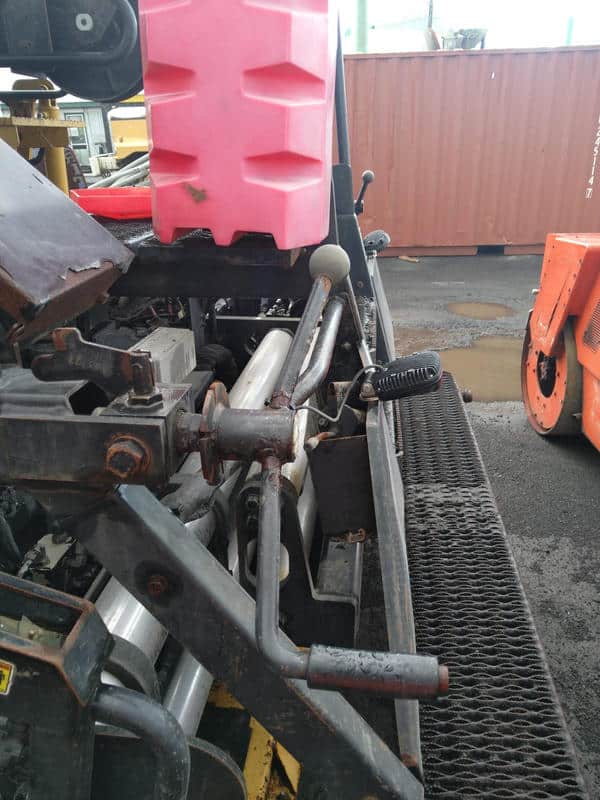
Not every paver will be able to be set to pull in an exactly horizontal plane. I’ve found some screeds are not well balanced. They may be heavy on the front or the rear, or the height of the screed pivot point isn’t on a similar plane to where the pull point is. Oftentimes you have to experiment to find a happy medium that gives a good mat. (See the picture of the Proper Line of Pull for notes.)

This picture shows the proper line of pull between the tow point and screed pivot point.
Lower the screed onto the take-off boards (or starting reference) and be sure the screed switch is in “float.”
Next, be sure to slowly (at low engine speed) creep the tractor forward about 2 inches to take up the slack at the tow points and to introduce a load on the screed. This is a critical step that, if not done properly, invariably leads to a poor takeoff with a dip or bump.
If you did everything right so far, the leading edge of the screed should now be about 1 inch behind the edge of the start joint.
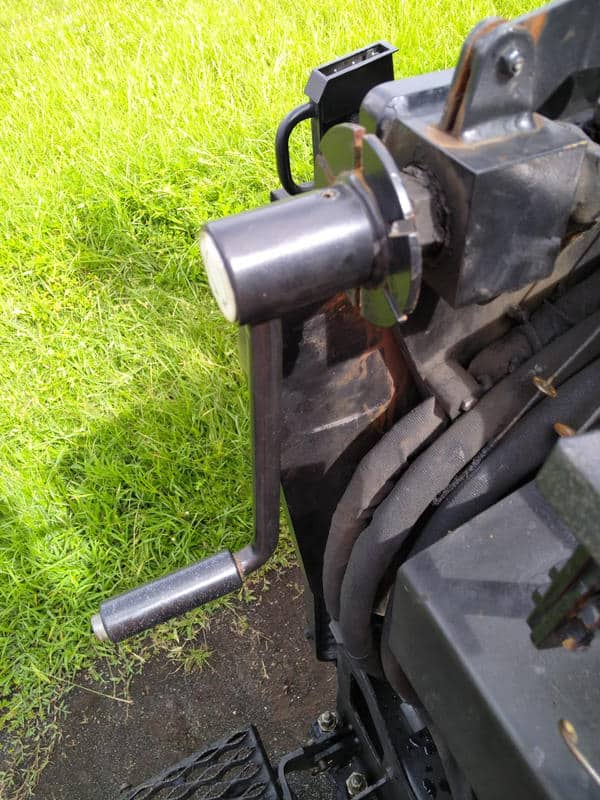
Next, null out your depth screws (if you have them on your screed) so you are sure both sides of the screed are relaxed or nulled. Then, one side at a time, introduce about 1/8- to ¼-inch slight “nose up” angle of attack with the depth cranks. Remember that earlier you should have already set your extender vertical height relative to the main screed. This will act as a means to help set that approximately 3/16-inch angle of attack, because once you null the screed out, it tends to rest on the extender section. Similar to a plane flying through the air or a boat on water, the screed nose must also be slightly “up” to provide lift.
Now, lower the endgates so the skid plate is lightly contacting the grade on the leading edge. But make sure to have enough “space” with the spring so there isn’t too much down pressure, as that can interfere with the ability of the screed to float properly on the mat. If the other side is matching a previously placed pass, set that side plate at a suitable height to avoid it digging into the mat. (See this “Float the Endgate” article.)
Fresh Pavement for Pago Pago
5. Half-fill the auger chamber.
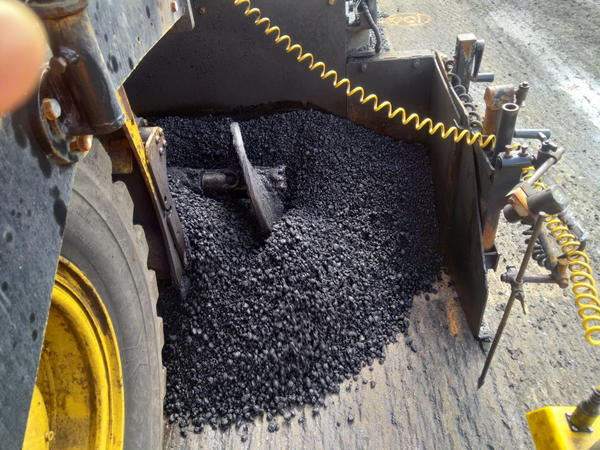
Next, I fill one side of the auger chamber at a time with the engine at low idle and the augers and conveyors at slow speed. Try to fill the area in front of the extender to the level that you would normally have it when paving; about halfway up the auger shaft is a good rule of thumb. It helps to have someone carefully shovel mix out by hand to avoid the temptation to power it out with the augers and overload it.
QUICK TIP: Don’t overfill this area (it’s easy to do this) as this will affect the screed when you pull off the joint. Also remember safety! Ensure laborers working near the augers are kept safe and their limbs and clothing are well away from moving parts. Shut the augers off once “full.”
Once both sides are full, choose your target paving speed and ensure the trucks being pushed by the paver (or the MTV operator) are informed you are about to start so they are ready and can anticipate how much brake pressure to set and so on to avoid spills. If everyone is on point and working as a cohesive team, many big mistakes can be avoided, and we can have a good day.
Some operators prefer to start in automatic, while others like to stay in manual until they validate that the mat depth is on target. If you know your screed well and how it behaves in all circumstances, and you have performed the set-up steps correctly, start in auto. Typically, I prefer to start manually and switch to automatic after one to two paver lengths; once I’m satisfied I’m on the target mat depth.
To assist me both at startoff and for matching joints or adjacent structures like a concrete channel lip, I use a bobbin and chain. I like to have a visual, tangible reference for fast and accurate feedback as to whether I’m at target depth. Also, although I always advocate for and prefer to use dual grade averaging, there can be some occasions on almost any job where that just isn’t feasible.
10 Screed Setup Steps for Better Mat Control
On car parks and many siteworks or commercial jobs, it’s typically less about achieving a “billiard table” smooth ride and more about matching adjacent equipment or structures such as concrete channels or light stands and other things of this nature. Frequently, these things we need to match can be at a different elevation or level to the paving thickness we have to meet. Therefore, discretion and a solution are needed. This requires quite a lot of forward thinking and planning to ensure water will still run off the right way and not create a bird bath. If you have the bobbin and chain calibrated to your target loose mat depth, when you need to deviate to carefully match to something on the fly, it’s great to have a trusty reference you know is already right that you can use to quickly get back on grade.
When we have the auger chamber dialed in right, the screed set up per industry best practice and everyone’s ready to go, it’s time to pave.
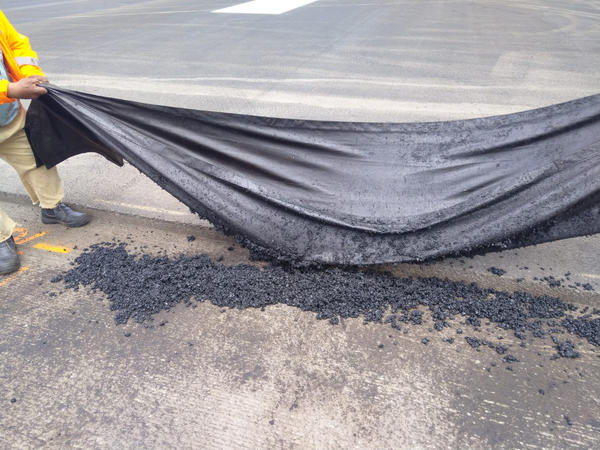
When we remove the tarp from the start-off joint, we reveal a clean edge. We take loose material left on the tarp to the next lane over and place it where the paver will begin, compacting it in a thin layer while preparing the starting boards for the next lane’s pull.
6. Pull off the start-off joint.
I pull off the joint at the same speed I’m intending to pave, and I focus solely on hitting target depth, having a consistent, steady 20-40 RPM auger speed and a smooth mat without irregular texture. I make sure to trim the extender heights if required to take out any transition lines.
We all know the goal is a consistent mat texture free from segregation and defects. I have a couple of skilled laborers who work as a team and lift up the start-off tarpaulin, fold it in half lengthwise, then carefully place the mix from the tarp on the grade at the next lane over and screed it out fairly thin by hand, then compact it by walking on it. There is usually no need to touch the transverse take-off joint this way.
If you did things right—if you made sure the screed starting reference was carefully calibrated for the thickness at the joint, set up the screed properly, and took the slack out of the side arms to preload the screed so it behaves in a predictable, controllable way—then the breakdown roller can get onto that joint immediately after the starting tarpaulin and laborers are out of the way. He can start getting density. That roller needs to nail that joint in a timely fashion and then keep up with the paver following the pass pattern.
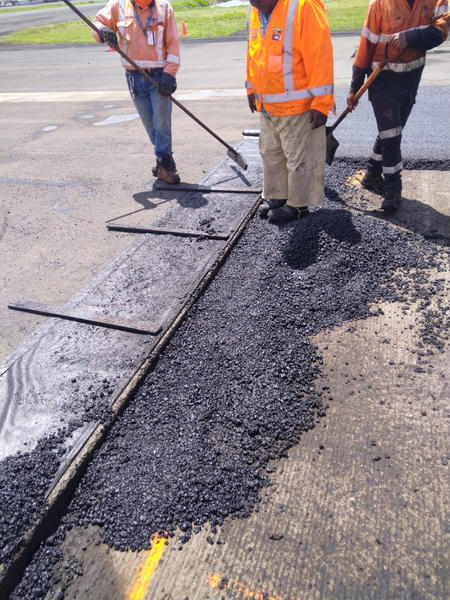
When we remove the tarp from the start-off joint, we reveal a clean edge. We take loose material left on the tarp to the next lane over and place it where the paver will begin, compacting it in a thin layer while preparing the starting boards for the next lane’s pull.
I’m not going to do a narrative on how to compact the transverse properly; others have covered this very well many times over. If you’re still not sure about it, look at the AsphaltPro Magazine online course, Asphalt Paving 101, for some helpful tips from industry veteran John Ball III or Caterpillar’s Todd Mansell with “Joint compaction and roller operations” and “Transverse joints—avoiding the bump!”
These two installments of Start Paving Off Right offer tips and techniques I’ve learned and used over decades in the field. These are some of my “go to” tips to keep the screed from nosediving when coming off the starting reference, thus they are tips for avoiding re-work and achieving success. Let me know which elements you found helpful or which you’re going to try out on your next project. Let’s continue to learn not only from the training courses offered around our industry and in these pages, but from one another as well. I look forward to connecting with you on TheAsphaltPro’s social platforms to share ideas.
Benjamin Everett is the owner of About Asphalt Ltd., and has worked in the asphalt industry for nearly four decades. For more information, contact him at bjeverett@aboutasphalt.co.