
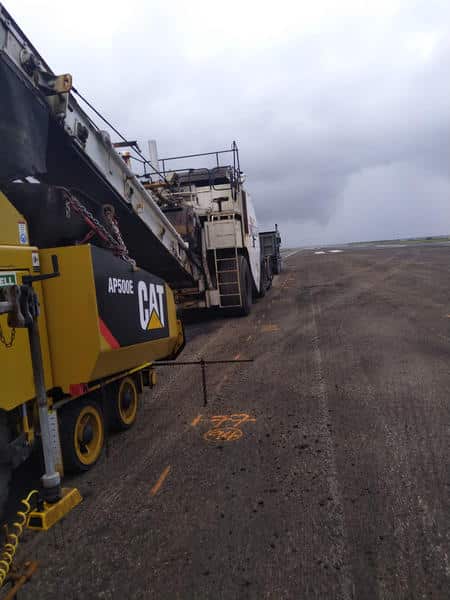
These are my 10 steps for screed adjustments that can influence the head of material and angle of attack for the better. I’ve assembled these set-up steps from a variety of sources over the years and augmented them with my experience for you to use before pulling off the transverse joint.
1. Install the correct length auger extensions and guards for the width being paved: 18 inches is a typical rule of thumb from end of auger shaft to inside of endgate.
2. Ensure the entire screed plate is heated to match the temperature of material being placed. If it’s not, the screed will immediately dive after leaving the starting boards and pave thin.
3. Determine thickness of starting plates or boards. You want them to be 20-25% above compacted mat depth depending on the mix, as a general guide. For example, for a 2-inch compacted depth mix, place 2.5 inches loose for 25% roll-down.
4. Position the paver correctly, then lower the screed onto the starting boards/plates: ensure the screed switch is in the “float” position.
5. Pull the paver forward 2 inches to take up slack at the tow point. (Quick Tip: Make sure you factor in this important step when positioning the paver and before you set the screed down to go.)
6. Lower the augers to appropriate height relative to loose mat thickness. Example: position bottom of auger flight 2 inches above loose mat when paving up to 3 inches loose mat depth. Above 3 inches loose mat depth, add an extra inch to auger height.
7. Raise or lower each tow point such that it is parallel with the screed pivot point. (Note: Check with each screed model OEM for specific procedures, as this may differ.)
8. Null first one thickness screw, then the other so the screed is completely relaxed. If the screed is not equipped with depth cranks, follow the manufacturer’s recommendations. Example: Set tow points such that they are on the same plane as the screed pivot points with the screed set up to the desired uncompacted depth. Then, adjust the screed turnbuckles to achieve a +1/8-inch to ¼-inch “nose up” attitude.
9. Take up screw slack one side at a time. Usually it will be just enough to put tension on the depth cranks, but enough to pitch the leading edge of the main screed plate up so that it is 1/8-inch to ¼-inch higher than the rear of the main when on the starting blocks. (Raise or lower the extensions as required in order to allow the above adjustment.)
10. Slowly, and at low engine RPM, fill each auger chamber one side at a time. Do not overfill. Set the head of material such that each auger shaft is 50% covered with material along full length. Turn on automatic feeder sensors and fine tune/adjust as necessary during paving to maintain this depth. Aim to run auger speed at 20-40 RPM. Augers must rotate continuously 100% of the time and not be “stop-start.”