Pay for Scale Maintenance with Your Program
BY Russ Desilets

Asphalt producers purchase scales because the value of the mix exiting the loadout area is based on its weight. Without assured scale accuracy a company can lose thousands, if not hundreds of thousands of dollars annually.
Depending on the requirements and type of weighing device, annual maintenance costs for a truck scale run anywhere from $1,000 to $3,000. If you compare that to the potential cost of weighing errors, most users find that a good scale maintenance program more than pays for itself; oftentimes it also pays for the actual cost of the scale.
To be most effective, a scale maintenance program must have five key components: use of a state-licensed service provider; calibration using state-certified test weights with a written calibration and test report for proof of accuracy; a thorough testing process; visual inspection services and minor repairs; and thorough reporting.
Calibration is the key component of periodic maintenance
After a scale is installed, it is tested by the governing state’s weights and measures organization. This test ensures the scale’s commercial accuracy and protects the scale buyer, scale seller, and scale installation company. Upon state approval, the scale is certified and open for weighing.
It’s important to understand that this initial calibration does not come with a guarantee for continued accuracy. Calibration can never be guaranteed, because accuracy is highly dependent on the way a scale is used and cared for. Weather, use and wear are just a few of the factors that can change the accuracy of a weighing device. That is why periodic calibration is so essential.
Test frequency depends on a variety of factors, including: the number of weighments per day; the price of the product being weighed; the number of days the scale is used annually; and the acceptable error rate.
Let’s look at the potential loss from a poorly calibrated scale. Seemingly minimal errors can substantially cut into profits over time. Take the Acme Aggregate Company example shown below, in which 200 may appear miniscule because a typical truckload of sand or gravel can exceed 80,000 pounds. However, when you do the math, the truth is revealed. The annual revenue could vary by about $345,000.

Maintain accurate load points for the scale.
Acme Aggregate Company
Weighing volume 500 trucks per day
Weighing frequency Five days per week
Product value $26.50 per ton
Scale inaccuracy -200 pounds
Lost annual revenue $344,500
With that kind of revenue loss in mind, let’s break down the five components of a good scale maintenance program, starting with the use of a state-licensed service provider. It’s important to understand that the state weights and measures organization is the only entity that can issue a scale certification. A commercial scale company cannot certify a scale, but it does have the authority to recalibrate and reinstate an inaccurate scale that has been “tagged-out” by the state, as long as the scale company is state-licensed and registered in good standing. (Tagged-out means the scale has failed a state weights and measures accuracy test, so the state has attached a lockout tag to the scale, rendering it unusable for commercial trade.)

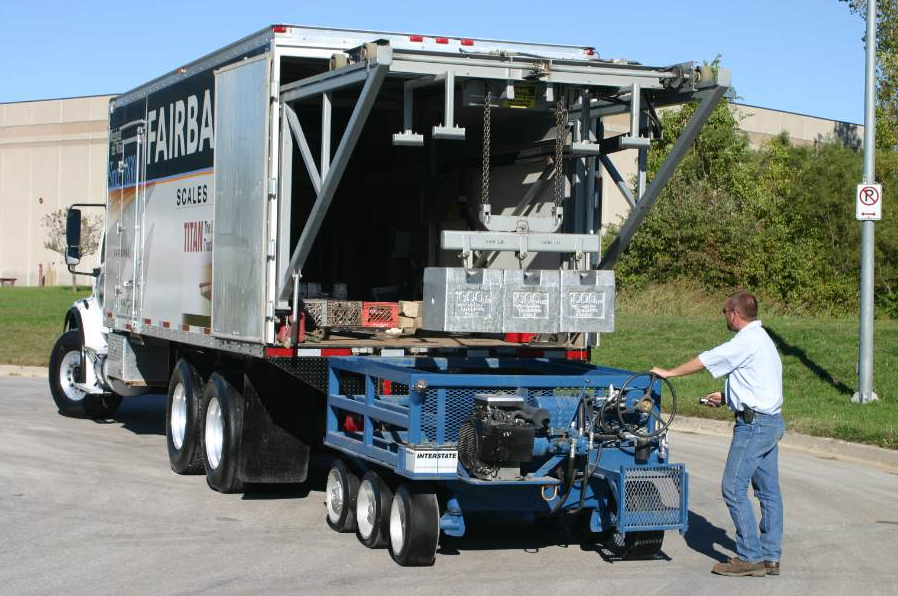
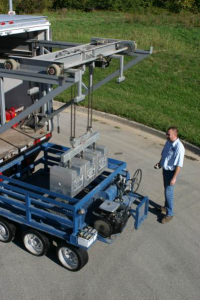
The calibration test cart with test weights
You must conduct calibration using state-certified test weights. An established scale service company typically has its entire inventory of test weights tested and certified annually, in accordance with state weights and measures standards. Preparing the weights and delivering them to a metrology lab for testing requires an enormous amount of time and money.
This is why it is important to verify with your service provider that their weights have been certified. Look for the stamp provided by the governing state weights and measures entity. It is also common practice, among companies that value quality, to request a copy of the test weight certification from the scale service provider. Weight serial numbers will be present on the certifications, and the customer can verify these numbers against the serial numbers on the test weights used by the service company.
Make sure the testing process is thorough. To test a weighing device properly, one must first determine the length of the platform and the total number of sections along that length.
A scale section is determined by the presence of a load point, which is simply the location of a load sensor (also known as a load cell or strain gauge). Load points are where weight is transferred from the load to the scale and where scale accuracy is maintained. It is critical, and mandated by the testing procedure of National Institute of Standards and Technology’s (NIST) Handbook 44, that the accuracy of load points are maintained, so as weight is applied, it is transferred evenly. If a load point or section fails a strain test, then it must be calibrated to conform to requirements by making a mechanical or electronic adjustment.

The visual inspection is just a starting point when it comes to a good scale maintenance program and should include more than looking at the scale’s condition. See the sidebar with this article for a brief checklist to take with you when inspecting your scale.
The load point is not calibrated to a certified weight, but rather calibrated to ensure that all sections weigh exactly the same or within government specifications outlined in Handbook 44 and/or issued by a state-sanctioned weights and measures organization.
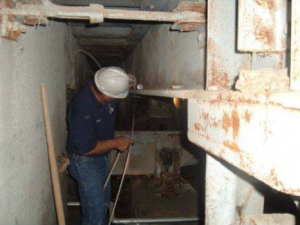
Also incorporate visual inspections and repairs. Like vehicle owners, scale owners must perform regular maintenance. In addition to the critical calibration component, a thorough scale maintenance program must include visual inspection, followed by any necessary repairs. A good service company should conduct a free visual inspection and have the ability to perform these minor repairs while on-site for the maintenance visit.
The visual inspection should include the key items listed in the sidebar on this page. A reputable service company will carefully inspect the scale, looking at these and other items, and offer solutions to any issues discovered. Most scale owners understand that it is better to repair and address issues when they are small, rather than wait until they are big and expensive.
Finally, make sure you report your scale maintenance routine thoroughly. Each maintenance inspection should include a written report documenting test results, including both before and after calibration, as well as a summary of findings and recommendations.
Russ Desilets is the regional director at Fairbanks Scales.
Perform a Visual Scale Inspection
Facility Name:
Date:
Scale #:
Inspector’s Name:
Checked?
Item
Needs Attention?
Notes/Comments
O Scale condition
O Regulatory conformance issues
O Any damages
O Safety
O Clearance
O Grounding
O Mud/debris build-up
O Use issues
O Corrosion
O Electrical conditions
