How to Repair a Utility Trench
BY AsphaltPro Staff
After a utility repair has been performed, it’s time to get the pavement put back in place. To execute this properly to ensure no water intrusion or raveling at the joints, a key step is preparing the walls of the trench, no matter their height. Getting clean surfaces that tack will adhere to is vital.
For the project in the pictures on this page, the crew not only placed two 5-inch lifts of hot-mix asphalt, but also placed 2 inches of aggregate over the electrical cable in the deep trench. Whatever your project’s requirements, make sure you follow this basic template for best end results.
Step 1. Hand-sweep the “walls” and edges. Clean off dirt and dust with a leaf blower to ensure the sides of the trench are clean.
Step 2. If you don’t have a spray wand on your distributor truck, heat up the tack in a kettle and get the sides tacked efficiently. Make sure your team members know safe practices for working with 180-degree material and wear the appropriate PPE.
Step 3. Use a skid steer, sidewalk paver, or good old-fashioned shovels and elbow grease to fill the trench with HMA.
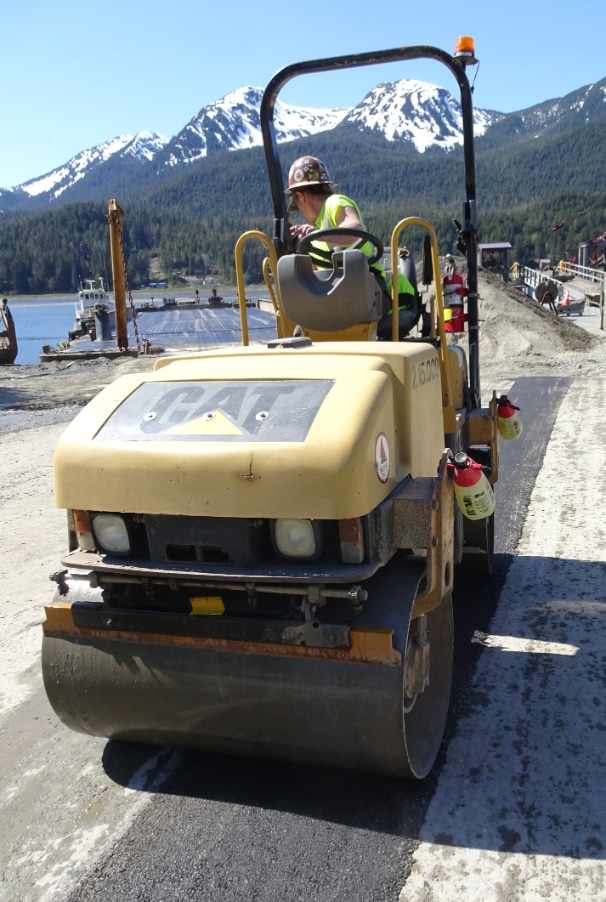
Step 4. Pinch both sides of the trench with a plate compactor to seal it against the existing pavement before compacting right down the center. You may have a large enough trench that you need a tandem roller for this step.
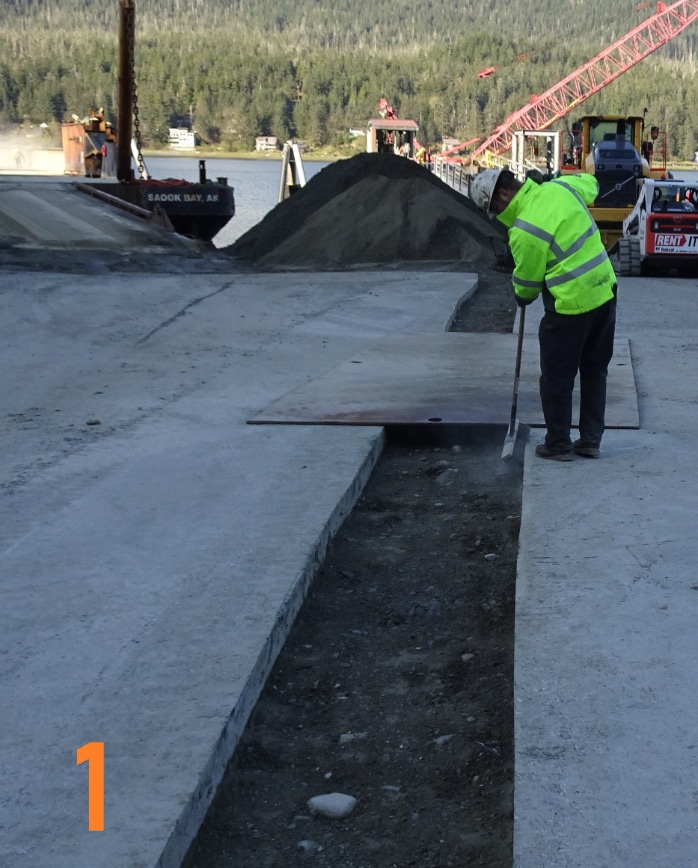
Before filling in the trench, the crew will sweep the sides, clean it with a leaf-blower, and tack the sides. For the project pictured here, the tack was heated to 160 degrees F.
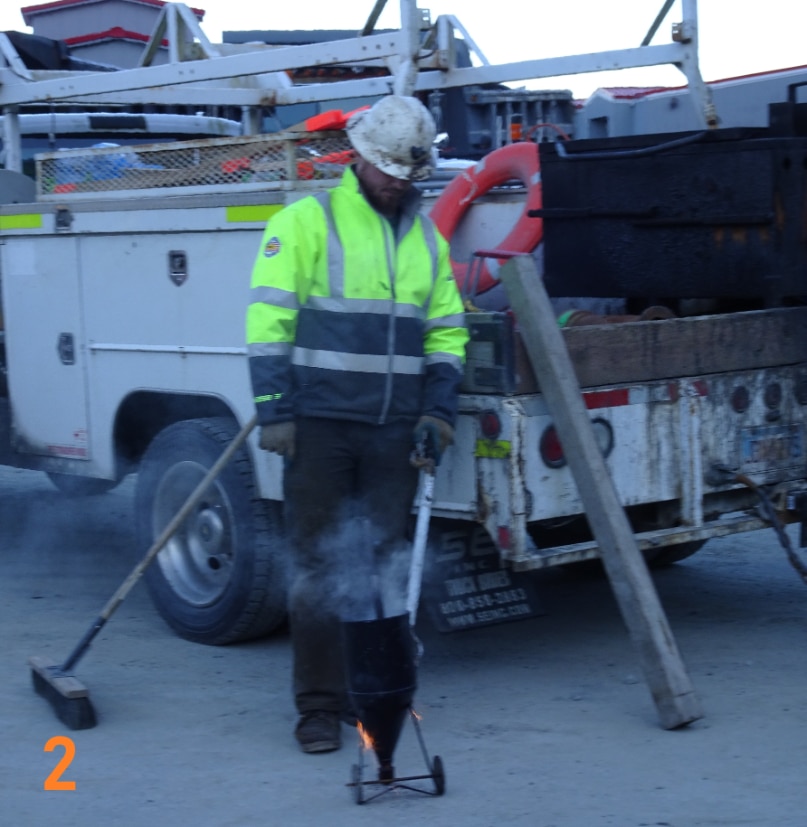
Before filling in the trench, the crew will sweep the sides, clean it with a leaf-blower, and tack the sides. For the project pictured here, the tack was heated to 160 degrees F.
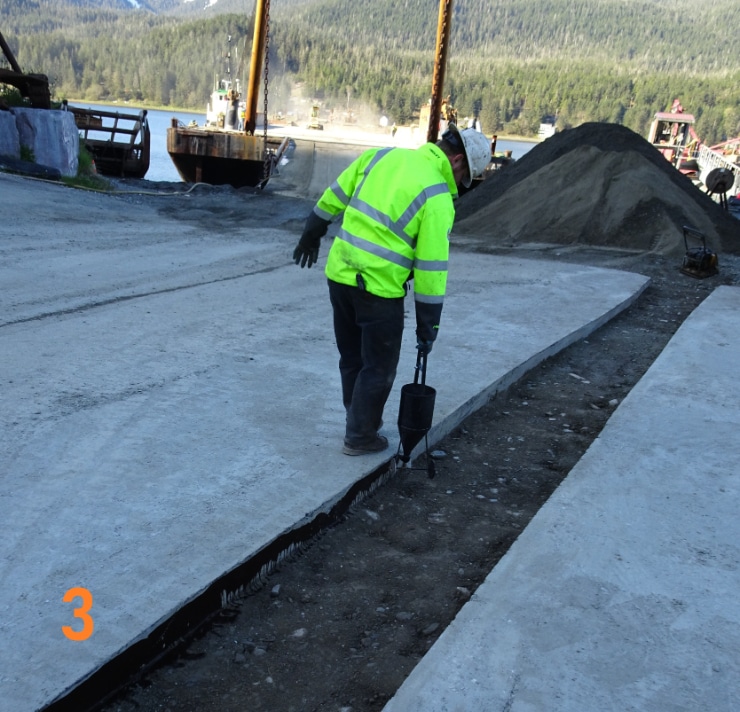
Before filling in the trench, the crew will sweep the sides, clean it with a leaf-blower, and tack the sides. For the project pictured here, the tack was heated to 160 degrees F.
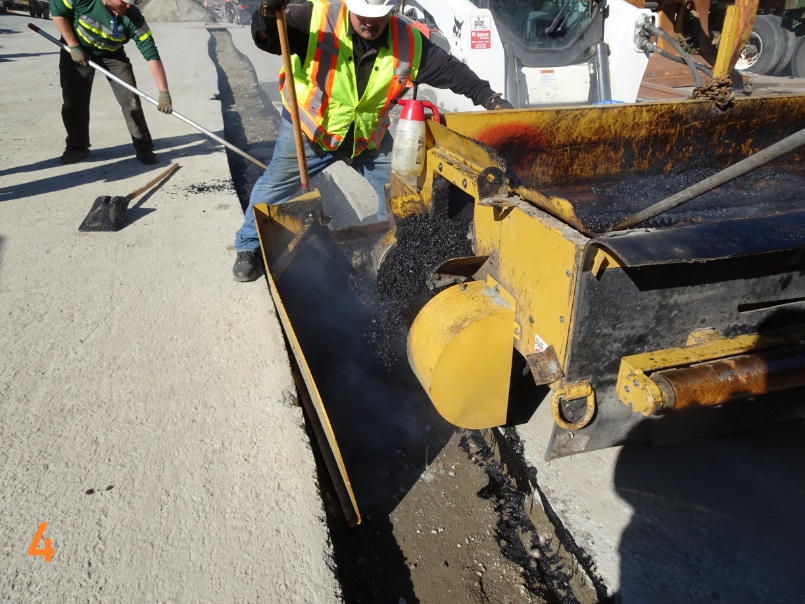
This crew used a Road Widener attachment with conveyor belt in its hopper, affixed to the front of a skid steer, to put two 5-inch lifts of HMA on top of a 2-inch lift of gravel to fill in an electrical cable trench. Your crew may have a different way to throw mix into the prepped and tacked trench.
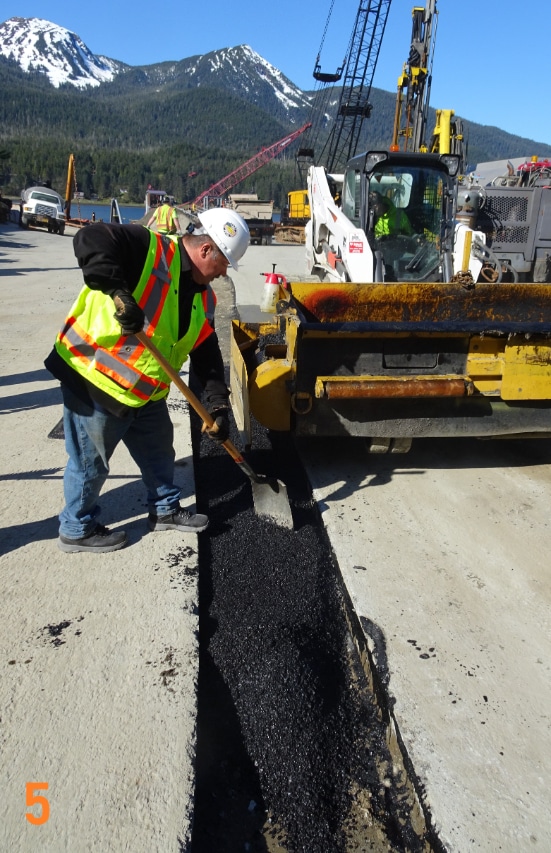
This crew used a Road Widener attachment with conveyor belt in its hopper, affixed to the front of a skid steer, to put two 5-inch lifts of HMA on top of a 2-inch lift of gravel to fill in an electrical cable trench. Your crew may have a different way to throw mix into the prepped and tacked trench.
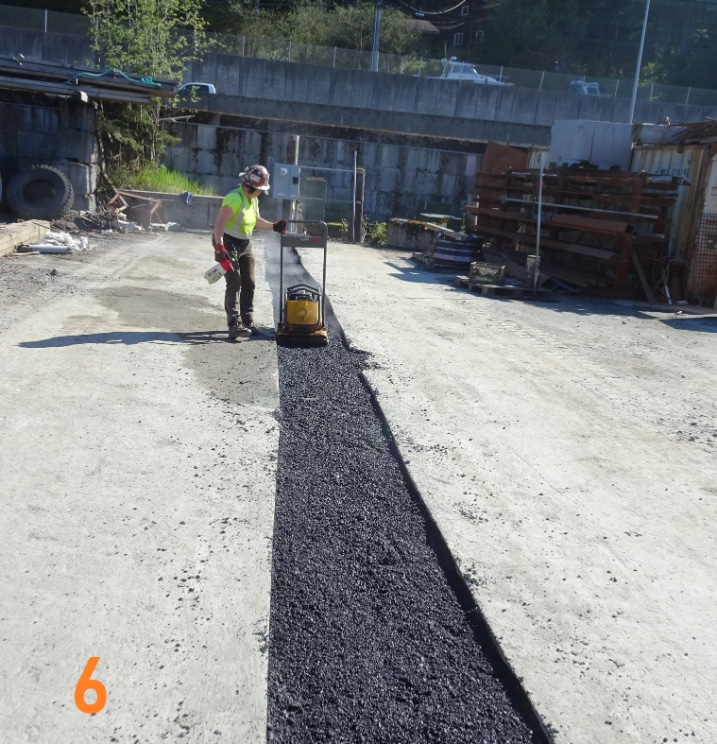
Here the laborer uses a plate compactor to get the first lift compacted in the 3-foot-wide trench.
