Upgrade Micro Surface and Slurry Sealing Operations, Part 2
BY AsphaltPro Staff

In part one, published in the Fall 2019 issue of PreservationPro, we shared all of the best practices leading up to the best micro surface and slurry seal applications. In part two, we dig into the best practices on the job site.
Slurry seal and micro surfacing are specifically-designed mixtures of asphalt emulsion, aggregate, water, mineral filler and additives, mixed in set proportions, and uniformly spread across a prepared surface.
Both treatments can be cost-effective options to seal the pavement surface, fill small top-down cracking and restore surface friction.
In part one of this series, Upgrade Micro Surface and Slurry Sealing Operations, we covered the best practices leading up to the best micro surface and slurry seal applications. In part two, we dig into the best practices on the job site.
Proper Weather for these Preservation Treatments
One of the key benefits of micro surfacing and slurry seal applications is their ability to cure quickly, allowing roads to be returned to traffic.
However, a number of factors affect the cure time of these treatments, including mix design, but also temperature, humidity, and wind, among other factors.
The weather should be 50 degrees Fahrenheit and rising, without any freezing temperatures within 24 hours. Although recently applied slurry seal and micro surface can withstand some rain, the treatments shouldn’t be performed if rain is expected.
Even at the correct temperature, humidity and cloud cover can affect the curing time. If curing time would be too long to postpone traffic, it may be best to wait for better weather conditions.
Specs may require that fog not be present during these operations.
Prepare the Surface

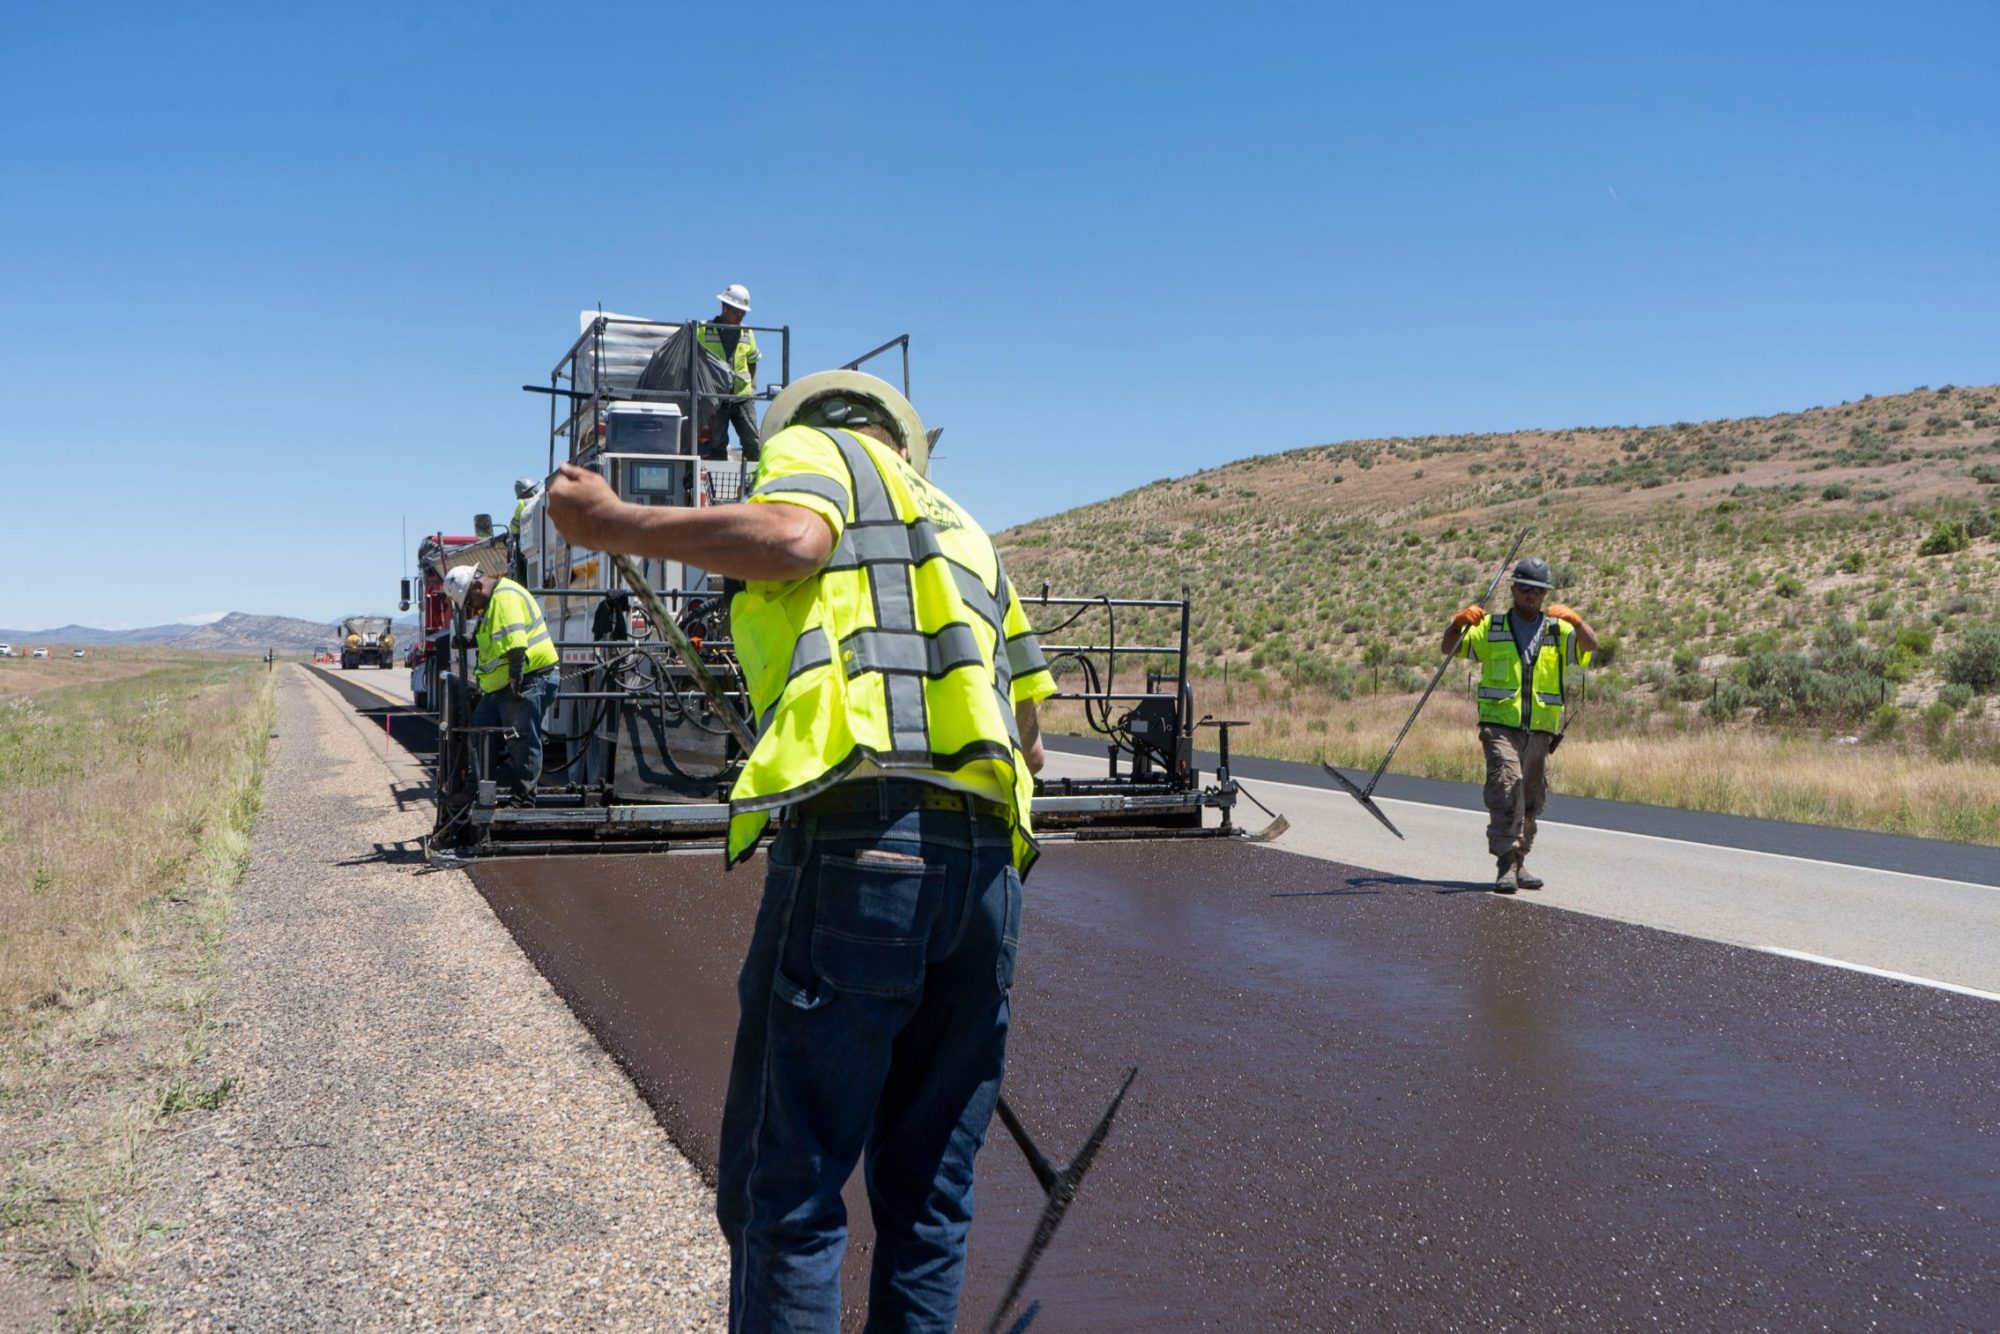
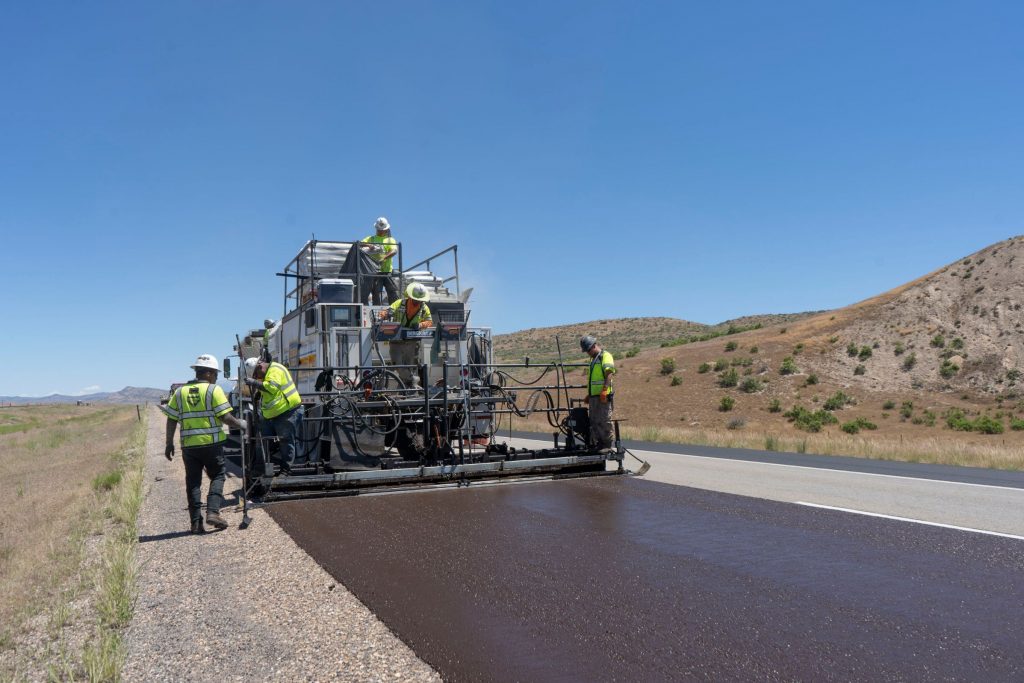
Geneva Rock performs a micro surfacing application in Utah.
“Surface preparation is without a doubt one of the most important factors for proper installation of slurry or micro surfacing,” said Vance Brothers’ Tim Harrawood. “Treatment success is 100 percent reliant on the ability to bond to the existing surface.”
There are a number of steps to prepare the surface for these treatments.
Plant matter should be treated with an approved herbicide a couple weeks ahead of the treatment. Trees that may prevent equipments’ performance should be trimmed.
Any full depth repairs should be performed, as should pothole patching and sealing cracks wider than ¼ of an inch.
Some agencies require sealing any cracks wider than ⅛ of an inch, rather than ¼ of an inch.
Cracks need to be clean and dry before sealing. Also, avoid applying excessive sealant, as it can be picked up by the paver tires and spreader box runners. Check out our article, “The Best Practices of Crack Sealing.”
Protect utility structures, such as manhole covers, catch basins and valve boxes, with paper, roofing felt/tar paper or another protective material. Harrawood recommends protecting bridge decks with heavy plastic sheeting, pulling the paver onto the plastic sheeting, which can be picked up once the treatment has cured. These protective materials should also be used at the beginning and end of a pass to provide a straight edge.
Raised pavement markers should be removed. Thermoplastic pavement markings larger than 4 inches should also be removed, Harrawood said, by grinding or water blasting. It’s important not to gauge the pavement, as this could create areas where water may pond. Eighty to 85 percent removal is adequate to ensure bonding, he added.
Harrawood recommends grinding in areas with a larger percentage of cracks. “Water blasting is so high-pressure that you could turn a ¼ inch crack into a ½ inch crack in a short period of time.”
Snow plowable markers should be removed and patched with suitable asphalt materials. Harrawood said Vance Brothers has had a lot of success with high performance cold mix. “I highly recommend not masking these off,” Harrawood said, adding that this too might present ponding issues.
Immediately prior to the treatment, pavement should be swept to ensure all loose material is removed.
“Before Bergkamp added a blower on the bottom of its pavers, the crew would need to keep a broom in front of it pretty much all day,” said Jimmy Kendrick, Director of Sales at Bergkamp, Inc., Salina, Kansas. “With the addition of that blower on the machine, the crew can broom the road in the morning and that blower will take care of the rest.”
If the existing surface is severely raveled or oxidized, Dr. Andrew Braham of the University of Arkansas recommends tacking the surface, allowing the tack appropriate time to cure. A tack coat should also be applied if the treatment is being applied on concrete and brick surfaces.
Application Rate
The rate at which slurry sealing or micro surfacing is applied is based on a wide range of factors.
Application rates should be higher for high traffic roads, if the pavement is particularly dry or porous, roads whose existing surface is relatively rough since more material will be required to fill the voids.
The application rate of micro surfacing is specified in pounds per square yard since the irregular surface finish doesn’t allow an accurate thickness measurement.
Reduced application rates should be used for pavements with a smooth surface, if the pavement is moist, or if money is tight (though the lifetime of the treatment will be reduced). Flushed or bleeding areas on the existing pavement should see a reduced application rate.
Regardless of the application rate, the paver should be traveling no faster than a brisk walking pace.
A common mistake Zach Jensen, Product Support Manager at Bergkamp, has seen is running the augers too fast. “When you’re running the augers too fast, all you’re doing is over agitating the mix,” he said.
Passing Your Passes
The paver should take a minimal number of passes to cover the entire pavement, starting with the lower elevation edge of the pavement.
Jensen reiterates the importance of having a good paving plan. “You need to be able to put the puzzle together before you go out on the job, especially if you’re paving residential cul de sacs, radiuses, ins-and-outs, etc.,” Jensen said. “You need to be able to tie those roads together and make them look uniform.”
Jensen recommends knowing the job well. Drive it ahead of the application to identify imperfections in the road.
“Any dips in the road will accumulate mix and could empty the spreader box, resulting in blank spots you’ll need to fill in,” Jensen said. “And the application will not look uniform.” Knowing about these issues ahead of time allows the crew to make adjustments as needed.
Overlaps should be minimal, as any overlaps will result in bumps in the final product. Transverse joints should be butt joints, rather than overlap. The end of each pass will be made into a straight line, either with a shovel or the use of tar paper, and subsequent passes will start from that point.
As always, it’s important to pave in a straight line. Harrawood suggests using a stringline or pilot line if the operator is struggling.
If the spreader box is operated properly and the material is the correct consistency, the gutters should be protected. “With today’s equipment, it’s very easy to cut a straight line along a curb or gutter panel without getting material into the gutter,” Harrawood said.
If prior overlays have made the asphalt quite a bit higher than the gutter pan, Harrawood recommends keeping the spreader box a few inches away from the edge and moving material over to the edge with spreader tools.
If the existing pavement is very hot and dry, PPRA suggests fogging the surface with water ahead of the spreader box. However, avoid pooling water ahead of the spreader box.
Jensen said it’s important not to run your spreader box so slow it could become empty, since the corners will be the first place to run out of mix. “If that happens, you’ll have to go back and patch those areas and the application won’t look uniform.”
Any areas the spreader box cannot reach will need to be hand worked. These areas should be slightly dampened beforehand. The handwork should have the same finish as the surface applied by the spreader box. PPRA also suggested performing hand work before final sealing to have as much area as possible applied by the spreader box.
As you pave, check that there are no drag marks left behind the paver. This may be caused by oversized aggregate or dirty spreader rubbers.
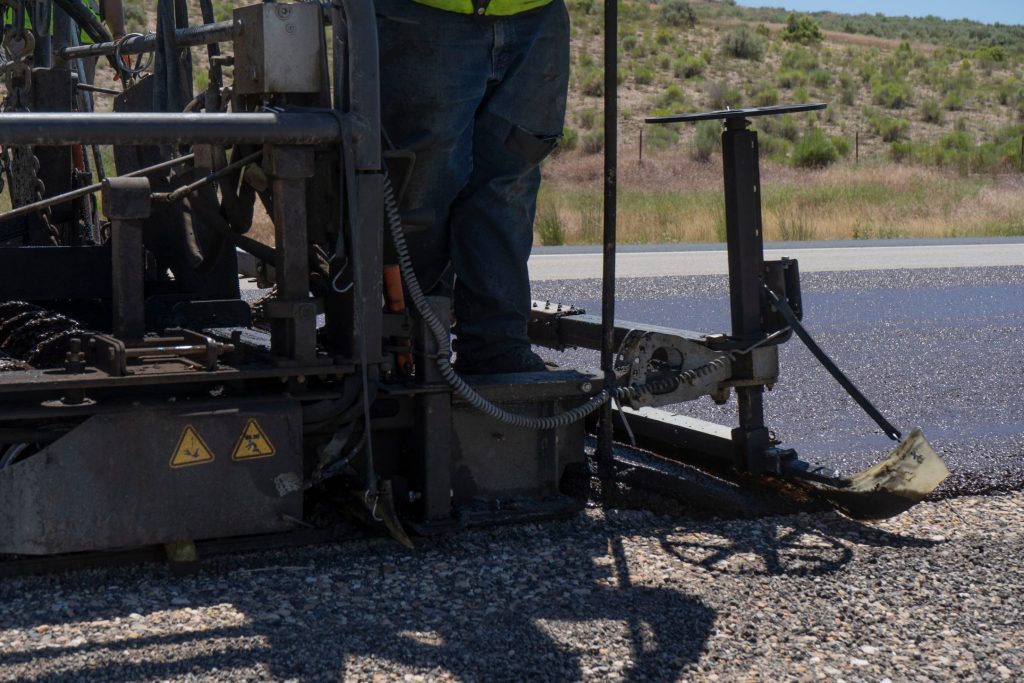
“It’s important to take the time after each pull to stop and clean off the spreader box, augers and strike-offs,” Kendrick said. “If they aren’t cleaned regularly and the mix starts to build up, it could cut grooves in the mat or fall off into the mat, causing segregation.”
Rut Filling

The use of micro surfacing has increased significantly since it was introduced to the U.S. market in the 1980s. This photo shows Geneva Rock performing a micro surface application in Utah.
Unless using micro surfacing to fill ruts, there are no differences between it and slurry surfacing during construction. Slurry sealing should not be used on pavements with more than ¼ of an inch of rutting, however micro surfacing can be used to fill more significant ruts.
According to the slurry sealing and micro surfacing pocket guides prepared by the Foundation for Pavement Preservation (FP2) and the Federal Highway Administration (FHWA), a rut box should be used for ruts deeper than ½ of an inch, while a steel strike-off can be used for ruts less than ½ of an inch. In either case, a second course should be applied over the top of the rut filling or leveling course. Ruts deeper than 1 ½ inches may require multiple applications with the rut filling box.
Harrawood said that it’s important to crown that rut ⅛ of an inch for every 1 inch in depth to allow for return traffic compaction prior to the surface treatment.
In addition to roads requiring rut filling or leveling, double lifts may be required for a more robust wearing surface and on roads with higher traffic counts. It’s recommended to wait a minimum of one day between placing the first lift and the second lift, but the exact waiting period required will depend on the agency and the traveling speed on that roadway.
Rolling
Some projects may require rolling, including airports and pavements that will not receive regular traffic, such as parking lots and culs-de-sac. This will increase their longevity.
Rolling shouldn’t begin until the mat has finished curing. It should also begin on the lower elevation edge and work its way upslope. The pavement should be rolled once, but not more than twice. The roller, preferably a rubber tire roller, should not travel more than 8 to 9 miles an hour for slurry sealing and 5 miles an hour for micro surfacing.
Final Surface Texture
“Slurry systems have an aggressive surface texture and when applied properly can maintain a high friction surface for the duration of their useful life,” Harrawood said.
However, a number of factors can affect the final surface texture, including existing pavement surface texture, mix consistency, adherence to the job mix formula, type of screed rubber used, spreader box maintenance, use of drags or secondary strike off, application rate, speed of application, opening to traffic, and rolling, if required. For example, Harrawood said, too fast of an application speed may cause wash boarding.
If the finish texture is too rough, PPRA suggests modifying the drag used or increasing the application rate. The mixture being placed may be too dry, or it may be breaking too quickly. If using Type III aggregate, it may be impossible to decrease roughness. If the finish texture is too smooth, PPRA suggests modifying the drag used or decreasing the application rate. It may also be the case that excess liquid in the mixture is floating emulsion to the top.
In the event of drag marks on the mat, it’s possible that the aggregate may be contaminated with oversized material. It might also be the case that material has built up on the pugmill or spreader box, which must be cleaned regularly. Material could also be built up on the drag, which should then be replaced. It is also possible that the mix may be breaking too quickly; an additive can be used to slow the break time.
“Don’t be afraid to call us or your emulsion supplier if you need any help,” Kendrick said. “A good relationship with your emulsion supplier is key, because they are most likely to be doing the mix design for that contractor.”
Cure Time
Harrawood said micro surfacing can typically support rolling traffic within one hour and cross traffic a bit sooner, if need be.
Traffic should travel at speeds of less than 25 miles per hour on fresh slurry seal or micro surfacing. Stopping and starting, as well as turning, should be limited until the treatment has sufficiently cured.
The cure time will depend on a number of factors, including temperature, cloud cover and other ambient conditions.
“Keep in mind those other factors,” Harrawood said. “If you’re laying on a sunny 85-degree Fahrenheit day and the next day is 68 and cloudy, it will take longer to cure sufficiently on the second day.”
The new surface may initially appear dark brown, but will be black after it cures. Note that micro surfacing placed in cool or damp weather may cure with a faded color, but it should become darker over time.
Visit theasphaltpro.com and search for part one of this series, Upgrade Micro Surface and Slurry Sealing Operations.
Sources:
- FP2 Preservation Toolbox
- Federal Highway Administration (FHWA) and FP2’s slurry sealing and micro surfacing pocket guides
- Pavement Preservation and Recycling Alliance’s RoadResource.org Treatment Center
- Transportation Research Board’s micro surfacing and slurry sealing webinar
- AsphaltPro’s “How to Micro Surface” article
- Jimmy Kendrick and Zach Jensen of Bergkamp, Inc.
