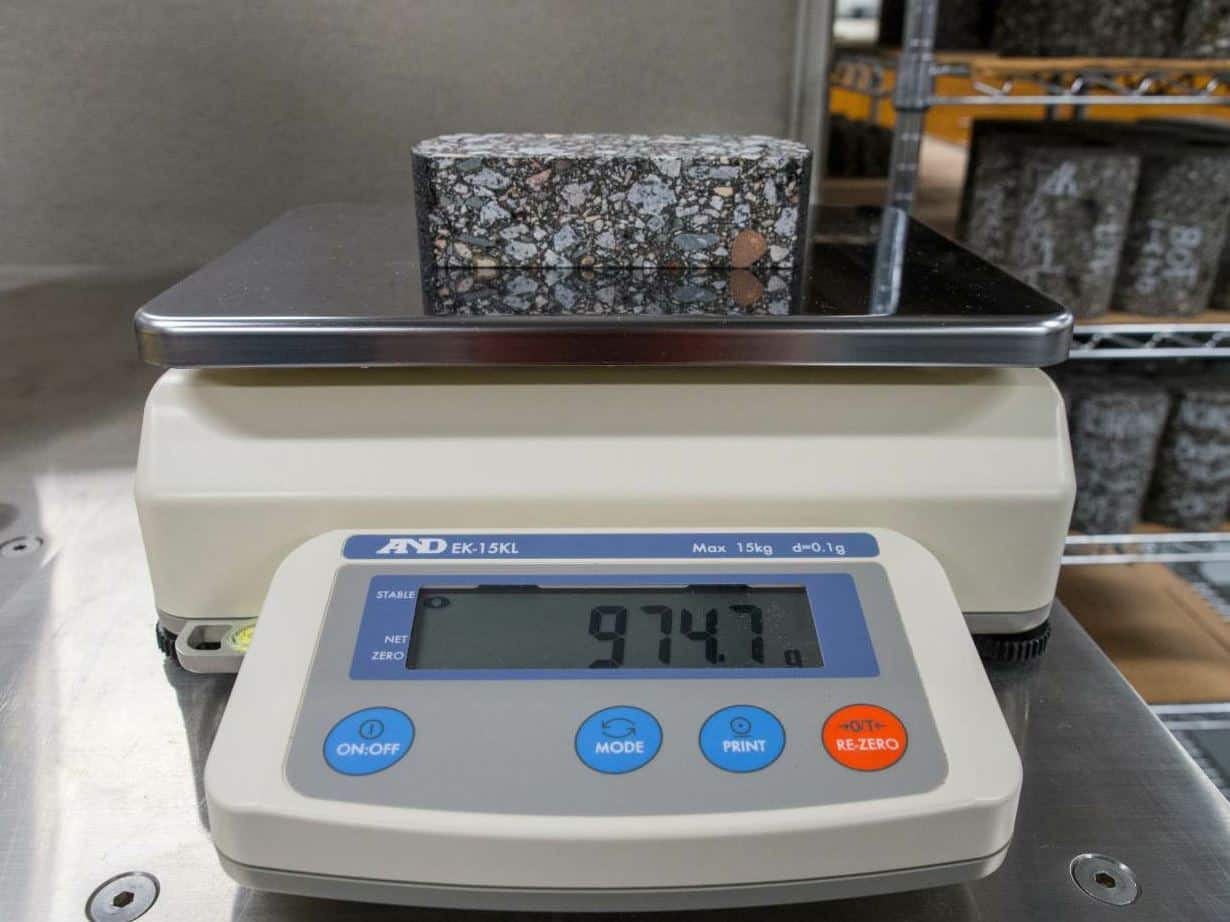
Calibrating lab equipment should be second nature to your team members.
Calibration is a vital step to get repeatable and accurate test results, thus states have specified different criteria for it on different devices.
Now take a look at the equipment you use in the field.
Calibration is a process where you compare the accuracy of a measuring instrument against a standard. For the nuclear density gauge—used to “document” sections of the asphalt mat for pay factors—for example, you want to ensure it’s reading accurately, so you will, of course, have it calibrated on a regular schedule. Your gauge manufacturer or other nationally accredited calibration lab can perform this as required by the National Institute for Standards and Testing (NIST), ASTM, or AASHTO, and can then set a regular schedule for you.
The non-nuclear density gauge—also used to “document” sections of the asphalt mat for pay factors—will require calibration on a regular schedule but doesn’t have the same hazardous material concerns that a nuclear density gauge does. The gauge manufacturer will assist in calibration.
Smart levels and temperature guns, while not necessarily directly affecting pay factors, are part of your quality control/quality assurance methodology, and they also need calibration to ensure you’re using good tools to get accurate measurements each and every day of paving.
The point is to make sure you adhere to this practice. You don’t want to purchase a density gauge and forget the steps for its proper care and maintenance. Today’s tip is your reminder that the gauge may be “up” for calibration for its best and most accurate quality assurance performance.
Do you need to share this tip to your foreman or QC/QA manager?
Get tips like this to your inbox each week! Sign up for our Toolbox Tips newsletter now.