How to Change Drum Flights
BY Stansteel/Hotmix Parts & Service

Editor’s Note: In this training column, AsphaltPro helps asphalt companies teach new workers back-to-basics techniques for best success in the field, at the plant and in the lab. Even veteran employees will be reminded of best practices with these refreshers throughout the year, but the goal is to help readers who are bringing in new employees who may or may not be well-versed in the industry yet. On-the-job training takes time and energy, and we’re here to help with the Asphalt Paving 101 online training course and these free articles in each issue.
Look Before You Flight
In all likelihood, over 95 percent of the dryers and drum mixers on hot-mix asphalt (HMA) plants no longer have the flights installed as built from the factory. Even if you have factory drawings, it is quite likely there have been either some or significant flight changes over the years.
Too often, producers have removed all the old flights before changing. With this in mind, we highly recommend a comprehensive survey of the exact flights in the rotary unit—number, quantity, positioning, etc.
This can be done by measuring and taking photographs in advance. Perhaps as important, if the dryer/drum is operating properly, there should be an actual performance analysis of the unit. A quick way to do this performance analysis is to run at the maximum tons per hour and use instrumentation to take two sets of readings.
The first set of readings will be to measure the shell temperature with an infrared gun at approximately every 3 feet along the length of the shell as the dryer is operating at maximum TPH, and at the turn-down or lower TPH rate. This will show how the unit is operating and if it is still operating in a satisfactory mode.

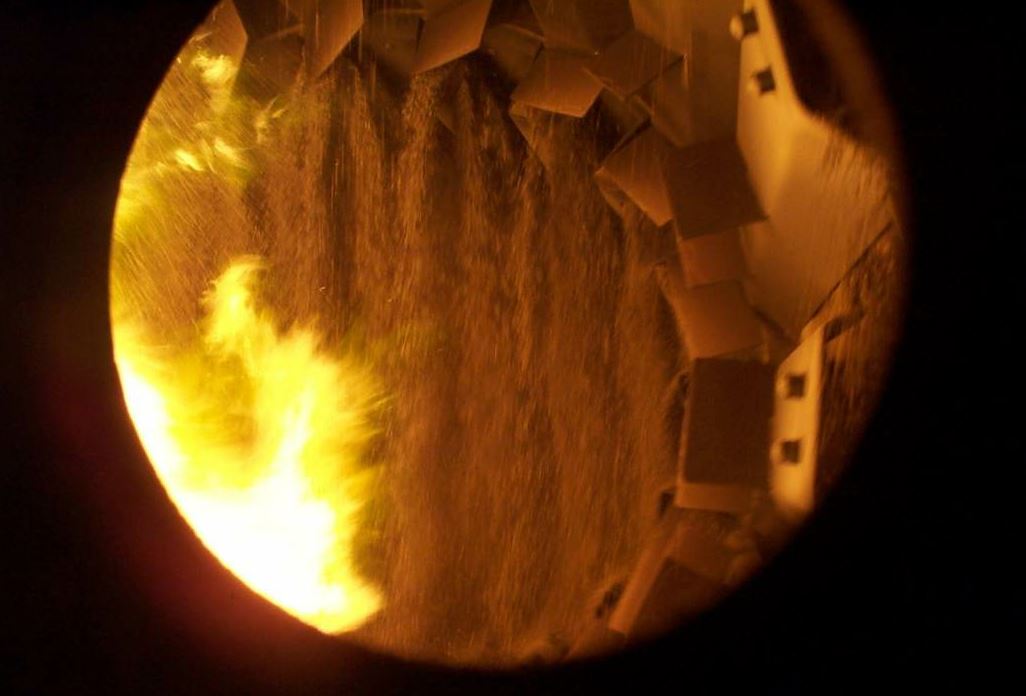
Before a complete flight change

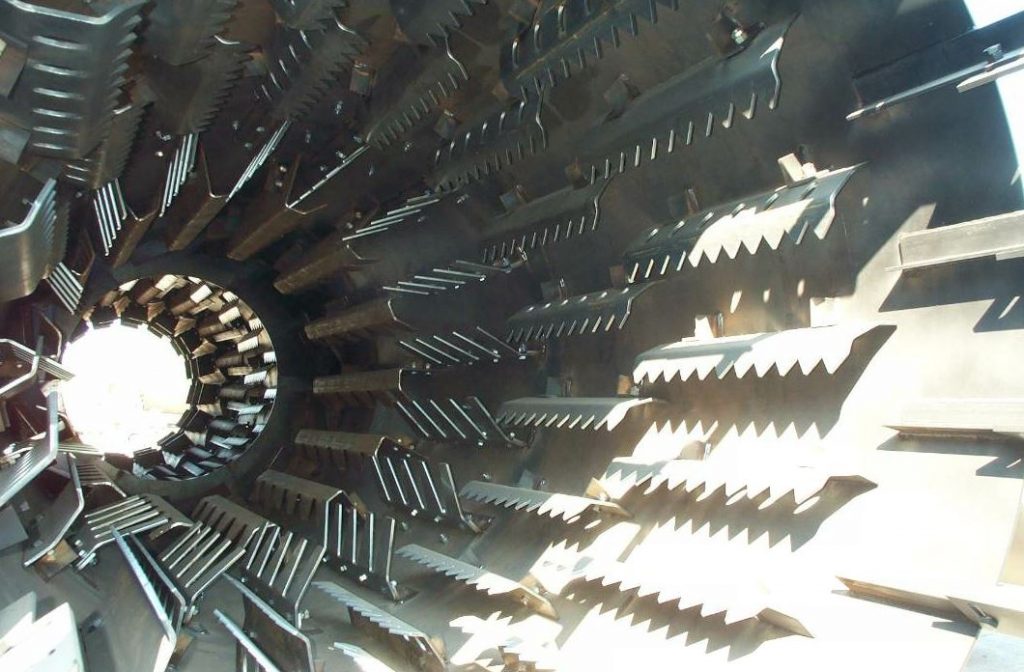
When the job is done
The second set of tests will be to have ports installed in the outlet duct from the dryer to the pollution-control equipment. On this outlet duct, approximately every 8 to 10 inches, take a measurement of the hot gas stream temperature. This, again, will indicate the efficiency and if there is proper veiling by comparing the profile of temperatures from one side of the unit to the other.
Flighting in an HMA dryer or drum mixer serves multiple purposes such as promoting heat transfer and combining the different materials for mix. A proper flighting system in good repair controls the flow of material and protects the rotary shell. When flights have worn or you need to effect a new/different dwell time in the drum, you’ll change any number or type of flights.
It’s the plant manager’s—or the equipment manager’s—responsibility to determine the proper flight patterns to achieve designed flow effects. This article is focused not on the purposes of different flights, but on the proper procedure for replacing them.

In the foreground, you see new combustion flights installed for production.
Safety in the Dryer
First and foremost, be safe. All service operations at the asphalt plant require a basic group of personal protective equipment (PPE). That group is as follows:
- Hard hat
- Safety glasses
- Personal fall arrest protection
- Face shield
- Hearing protection
- Long sleeve shirt
- Gloves (leather, cut-resistant)
- Steel-toed shoes (all leather upper); 8” boots are recommended
As needed, PPE will depend on the work environment and may include:
- Respirator
- Welding respirator with PAPR or supplied air
- Flame resistant clothing
- Tyvek™ coveralls
- Boots with metatarsal coverage
The very first thing ground personnel will do is lock out and tag out the drying unit’s power source. Then lock down the drying unit by use of come-a-longs or tuggers. Also use wooden chocks—place these in the pinch points of tires and support rollers to further ensure the drum can’t accidentally move.

Another caution: It is not recommended to attempt to change one row of flights at a time. There can be many problems of interference from other flights and it’s hard to get the entire arrangement positioned correctly. Even though sometimes people want to, on a weekend day, change one or two rows, if the entire unit is going to be re-flighted, it is far preferable to do it all at one time.
Did you obtain a confined space permit and the proper monitoring equipment? You will assign a confined space attendant to keep watch over the worker(s) from outside the drum. The confined space attendant, continuous monitoring, proper PPE and ventilation at four times the volume of the unit are all required during maintenance activities. Depending on the method of replacement, the material of the unit or flights, or the material that has been present inside the unit, the workers may need respiratory protection equipment.

Replace Welded Flights
Step 1. Use an arc gouger to cut existing welds in the bottom quarter-section of the unit and remove flights.
Step 2. Clean and grind any residual welds left from the demo process.
Step 3. Lay out and install new flights in that section. (If installing a different style flight or different pattern, this shall be determined by a qualified source.)
Step 4. Remove chocks at pinch points and remove tiedowns.
Step 5. Rotate unit until next quarter-section is located at the bottom.
Step 6. Repeat steps one through five until complete.
Replace Bolted Flights
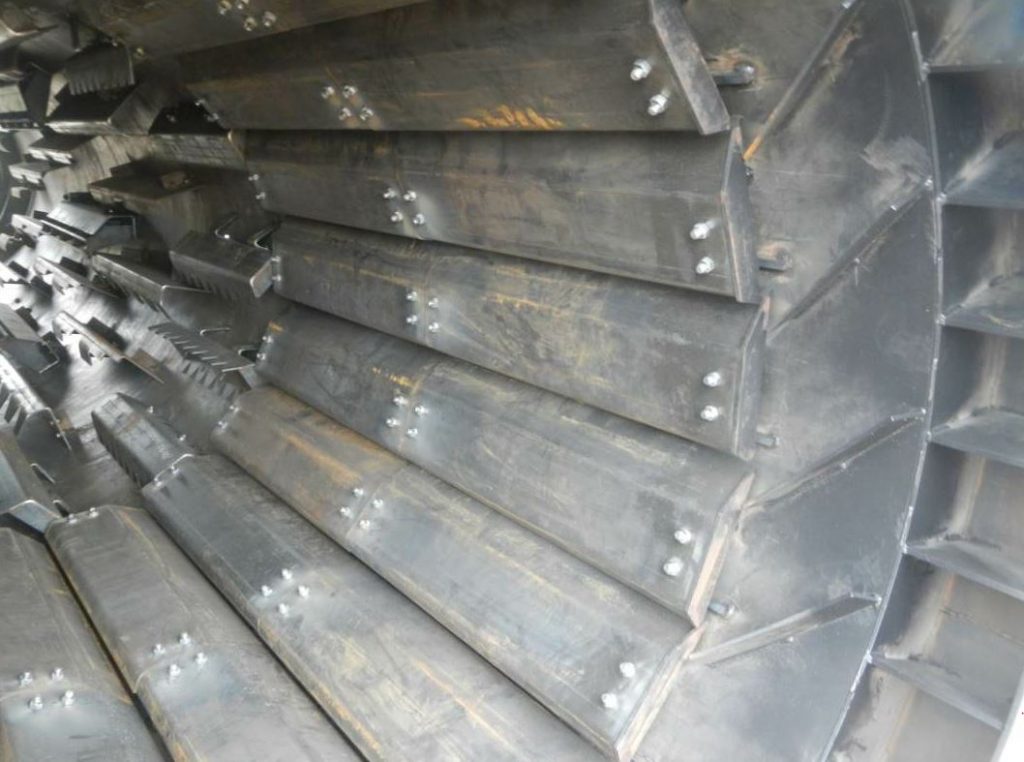
Step 1. Use an arc gouger or torch to cut bolts that hold the existing flights.
Step 2. If like and kind flights are to be installed, inspect the existing mounting brackets. Make repairs or replace the brackets before installing new flights in the first quarter-section located at the bottom of the unit.
Step 3. After installing new flights and bolts, weld the nuts to the bolts. Bolts should be installed with the head of the bolt to the product side of the flight.
Step 4. If changing the flight design or pattern, the new design or pattern shall be determined by a qualified supplier. This process may require removing the old mounting brackets and installing new ones.
Power Back Up
One of the best common sense tips is once the unit has been secured, cleared and the power restored to the drives, it is best to rotate the unit without any material. Listen for any items that might be loose, whether that’s flighting, attachments, seals or more. Once that is done, the best practice is to rotate the unit with aggregate material to make sure there is no bridging or plugging, also just to test and make sure all the flighting has been secured.
After that point, the best method is to start and run the operation under full load. Go back and measure with the infrared testing instrument to see if the shell temperature profile is the same or hopefully better than before. Finally, go to the exhaust duct and check the multiple ports for temperature readings to gauge efficiency and that proper veiling has a consistent temperature throughout the exhaust gas discharge.
Then run production for months or years and keep checking and maintaining temperature profiles.
