Here’s How the Aussies Build a Parking Lot
BY Sam Wade

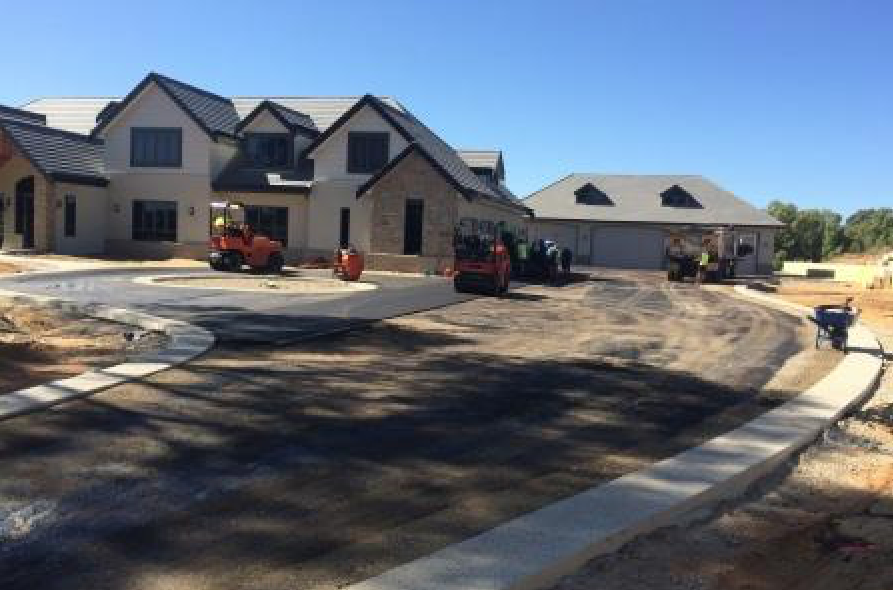
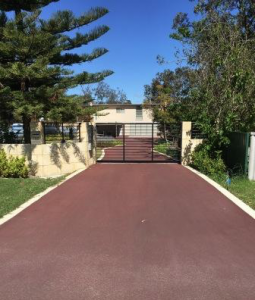
Jackson Asphalt, Maddington, Australia, completes hundreds of car parks a year. The company is located in a growing area where new construction is in high demand. The process for installing a new car park is straightforward and, as long as each part of the process is followed and checked before moving on to the next step, there is no reason why a Jackson Asphalt car park won’t last 20 to 30 years. If something starts to go wrong, the kerbing contractor will want to blame the base work contractor; the base work contractor will want to blame the earthworks contractor; and so on. The asphalt company gets the job of covering most mistakes with 25 to 40 millimeters (1 to 1.5 inches) of asphalt. Let’s look at how to build a car park that not only looks great, but is built to code through all stages of construction—set out, earthworks, drainage, base work, the optional spray seal, kerbing, asphalt and line marking.
Set Out
This is done either by the earthworks contractor or a licensed surveyor. The ground is pegged out, showing an offset of normally 500 mm (20 inches) from the face of the kerb or asphalt. The pegs show the finished height of the asphalt or base.
Earthworks
The existing ground is cut and filled, boxed out or trimmed level and readied for compaction by steel drum rollers. The ground is tested using penetration blow testing to ensure that there is correct compaction prior to the road base or limestone being installed.
 Drainage
The plumber or other contractor removes soil to install soakwell, spoon drains and interconnecting pipework. It is important to ensure a minimum of 1 to 2 percent fall, hence the height of the grated soakwell lids is the same as the finished asphalt level. A common mistake, which causes massive issues, is back-filling the trenches and holes around the soakwells. The soil must be compacted in 300-mm (12-inch) lifts using a plate compactor or “jumping jack” compactor. For example, a 600-mm (24-inch) deep trench must be compacted in two levels, or lifts, prior to installing the road base.
Road Base
This stage is the most critical, and has more to do with longevity of the asphalt than any other stage. The road base needs to be trimmed to 1 to 2 percent fall minimum into the drainage areas. The base needs to be wet prior to compaction to enable correct compaction. The base must be tight (no loose stones), not “boney” (no large, visible stones on the surface), and extremely hard. All levels must be correct and the road base is normally tested using nuclear density testing generally chasing results of 98 percent density or more.
Spray Seal
This is optional and only occurs on high spec projects. A 7-mm (0.25-inch) spray seal is applied using a bituminous spray at a rate of approximately 1.3 liters/square meter, which is then covered with a 7-mm granite stone that is rolled into the bituminous product. Don’t forget that a water cart is needed onsite to lightly wet the road base, and a spray seal doesn’t work on limestone bases. Also, the seal will need to be swept before and after.
Asphalt
A paver is loaded with asphalt mix and spreads it over the prepared surface. The asphalt is then compacted using twin steel drum rollers. Then it is compacted and rolled using a multi-tire roller, and finally back-rolled using another twin drum steel drum roller. Hard-to-reach areas are hand-tamped or plate compacted. The asphalt can be tested after for content and compaction. Generally, 94 percent compacted is standard, but that depends on the application.
Line Marking
These contractors are fast and efficient, and generally slip into a car park very early in the morning before the morning traffic starts. Most car bays are generally 2.5 meters (8 feet, 2 inches) spacing and 5.5 meters (18 feet) long. While it is important to wait four weeks to apply the line marking, it is not always practical. Premature painting of line marking causes fading lines, especially the blue colors.
